I’m finally going back and hitting my backlog of Whimseybox projects. This one is from September (2012). I didn’t do the project when I got it because…I didn’t really have a need for gift wrap. I still don’t really, but I figure I should clear out some of these boxes. Also, I really like to glue things and September’s box held much promise for gluing.
So, September’s box (Box 12) was for confetti gift wrap and involved a lot of things.
 In the box were an assortment of gift bags, a few gift tags, a small box, a fairly large packet of confetti, and a tube of glue. Also in the box, but not directly related to the project was a length of ribbon. I think it’s an advertisement of sorts. There’s normally something small and advertise-y in each Whimseybox. For September, it was some ribbon and it had the added bonus of being useful to the project if you chose to use it.
Directions for the project idea was basically: put glue on stuff and then sprinkle confetti all over the glue. It’s pretty standard for something like this.
Here’s their example.
Well, it turns out I can’t show you because
there seems to be no record of it at all
anywhere on the internet
and I have no interest in taking a picture of
a tiny picture on the directions card.
No really, I googled “Whimseybox confetti giftwrap”,
“Whimseybox box 12”,
and “Whimseybox September”
and no matching projects came up.
This project idea isn’t even on their blog.
Here’s my version, having followed the directions exactly.
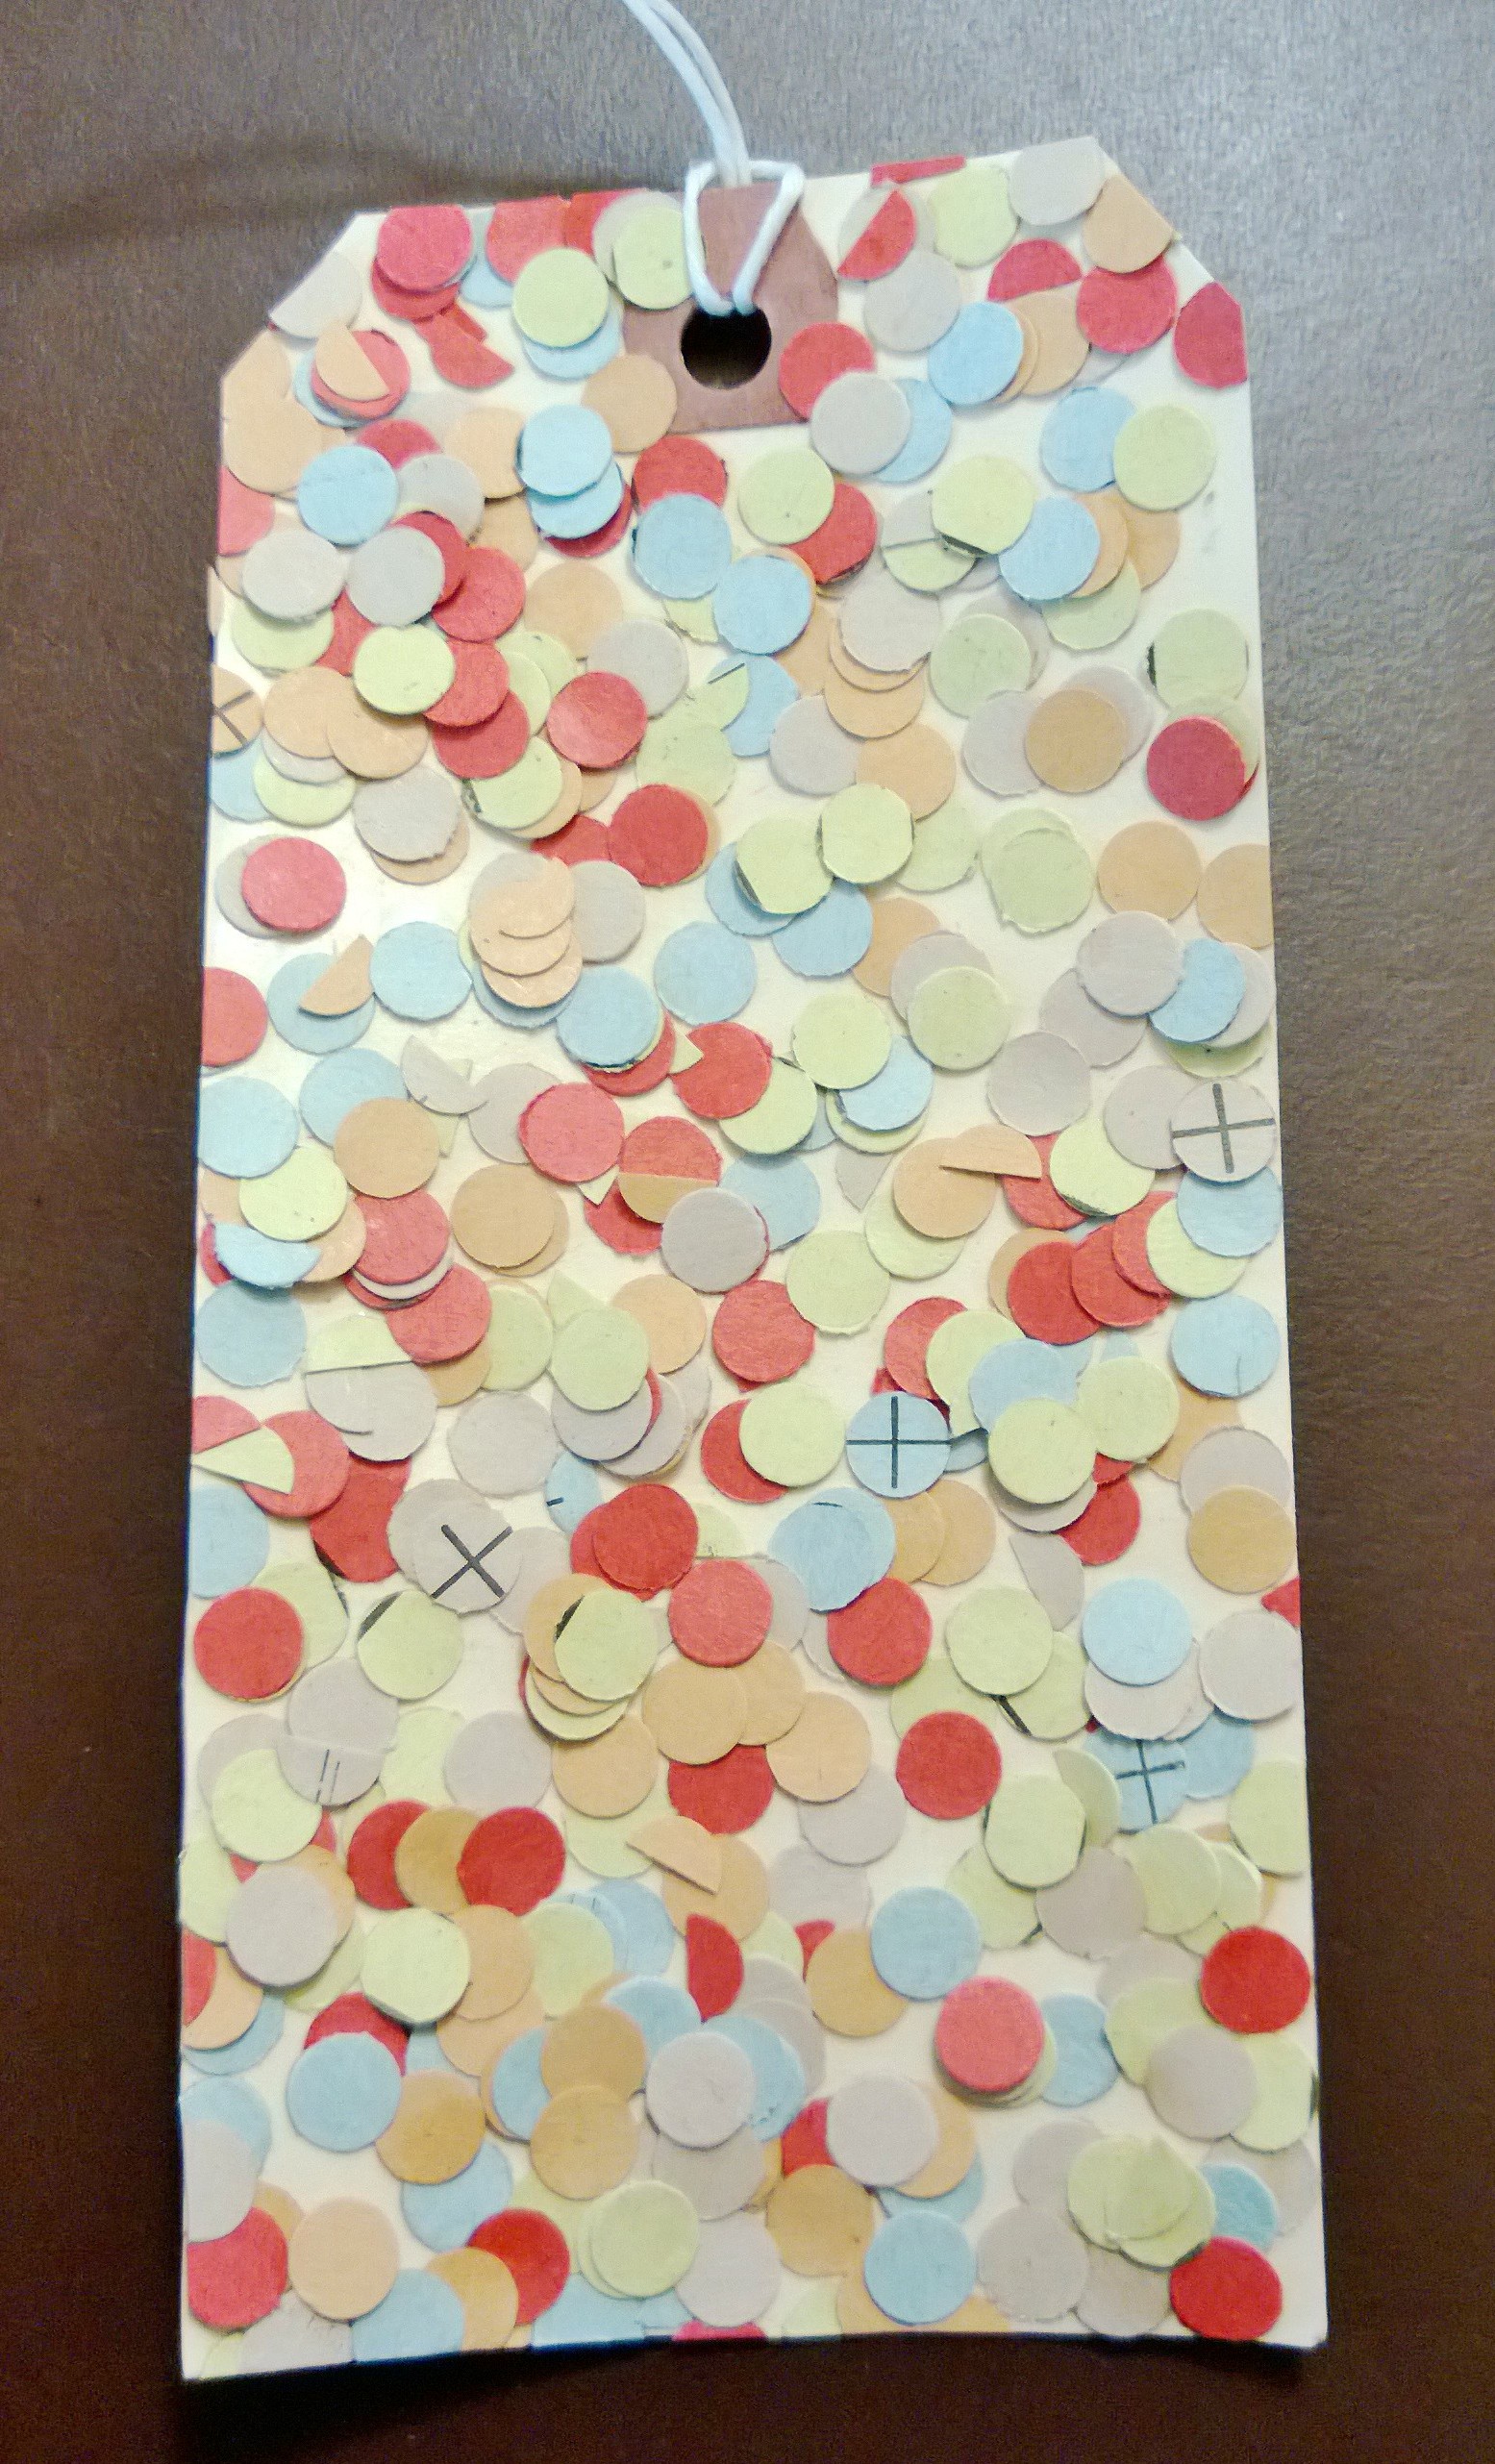 It looks SO. GOOD., no? No, it doesn’t really. The glue they included with the box is a really wet gel glue. It’s the stuff I liked to play with and use as a kid, but it doesn’t really glue that well and it makes the paper wrinkle because it’s so wet. And I realize that you can’t compare it to the example from Whimseybox, but let me tell you that they don’t look anything alike.
BUT! The direction card also included suggestions on applying glue in stripes or in some shape instead of over the whole area. I tried that too.


Here’s the front and back of another gift tag I did, this time in stripes. I also didn’t just randomly dump confetti all over the place but used that weird tool whose name I forget that came with my Silhouette. I think I’ve talked about it before. It has a mildly sticky putty that you can squeeze out on one side to help you pick up and place small pieces of paper and a reversible proddy thing to prod the pieces you just placed into position. I kind of like how this one turned out. It’s still kind of wrinkly.


Here is the small gift box that was included with all the stuff. I went with a flower design. This one turned out ok too. I don’t really like the giant flower thing I did on the lid though. I might peel it off and do it again. Which is another thing with this glue. It doesn’t stick well to glossy surfaces. You can peel the glue and everything off the box and it doesn’t look like anything was ever glued there.
 Here is a…lollipop? I’m not really sure what I was going for. I used normal white glue this time. It sticks a lot better to glossy surfaces.
 And here is that pink bag. I went back to the glue included in the box. I also went back to the dump confetti over everything technique. I don’t think it worked out any better than last time. You can kind of see that it says “hi.” Kind of.
Are you a bit underwhelmed by this project idea? I am a bit underwhelmed by this project idea. I realize that I didn’t even confetti everything; there are a few bags I left undecorated. I just didn’t see any reason to decorate the other bags. I like plain brown bags. What’s wrong with them?
Anyway, even though there was a lot of stuff in this box…well, it’s still kind of hard to justify the 15$ spent on it and the elementary school craft idea. I mean, it IS a good craft for the kids though. I remember really enjoying the glue/paper/mess in elementary school, when I last did something like this. I just don’t think it was worth 15$. And if you paid 25$ for this, I feel really bad for you. I kind of feel like Whimseybox also feels bad for you and has tried very hard to erase the record that they ever sent out this box.

