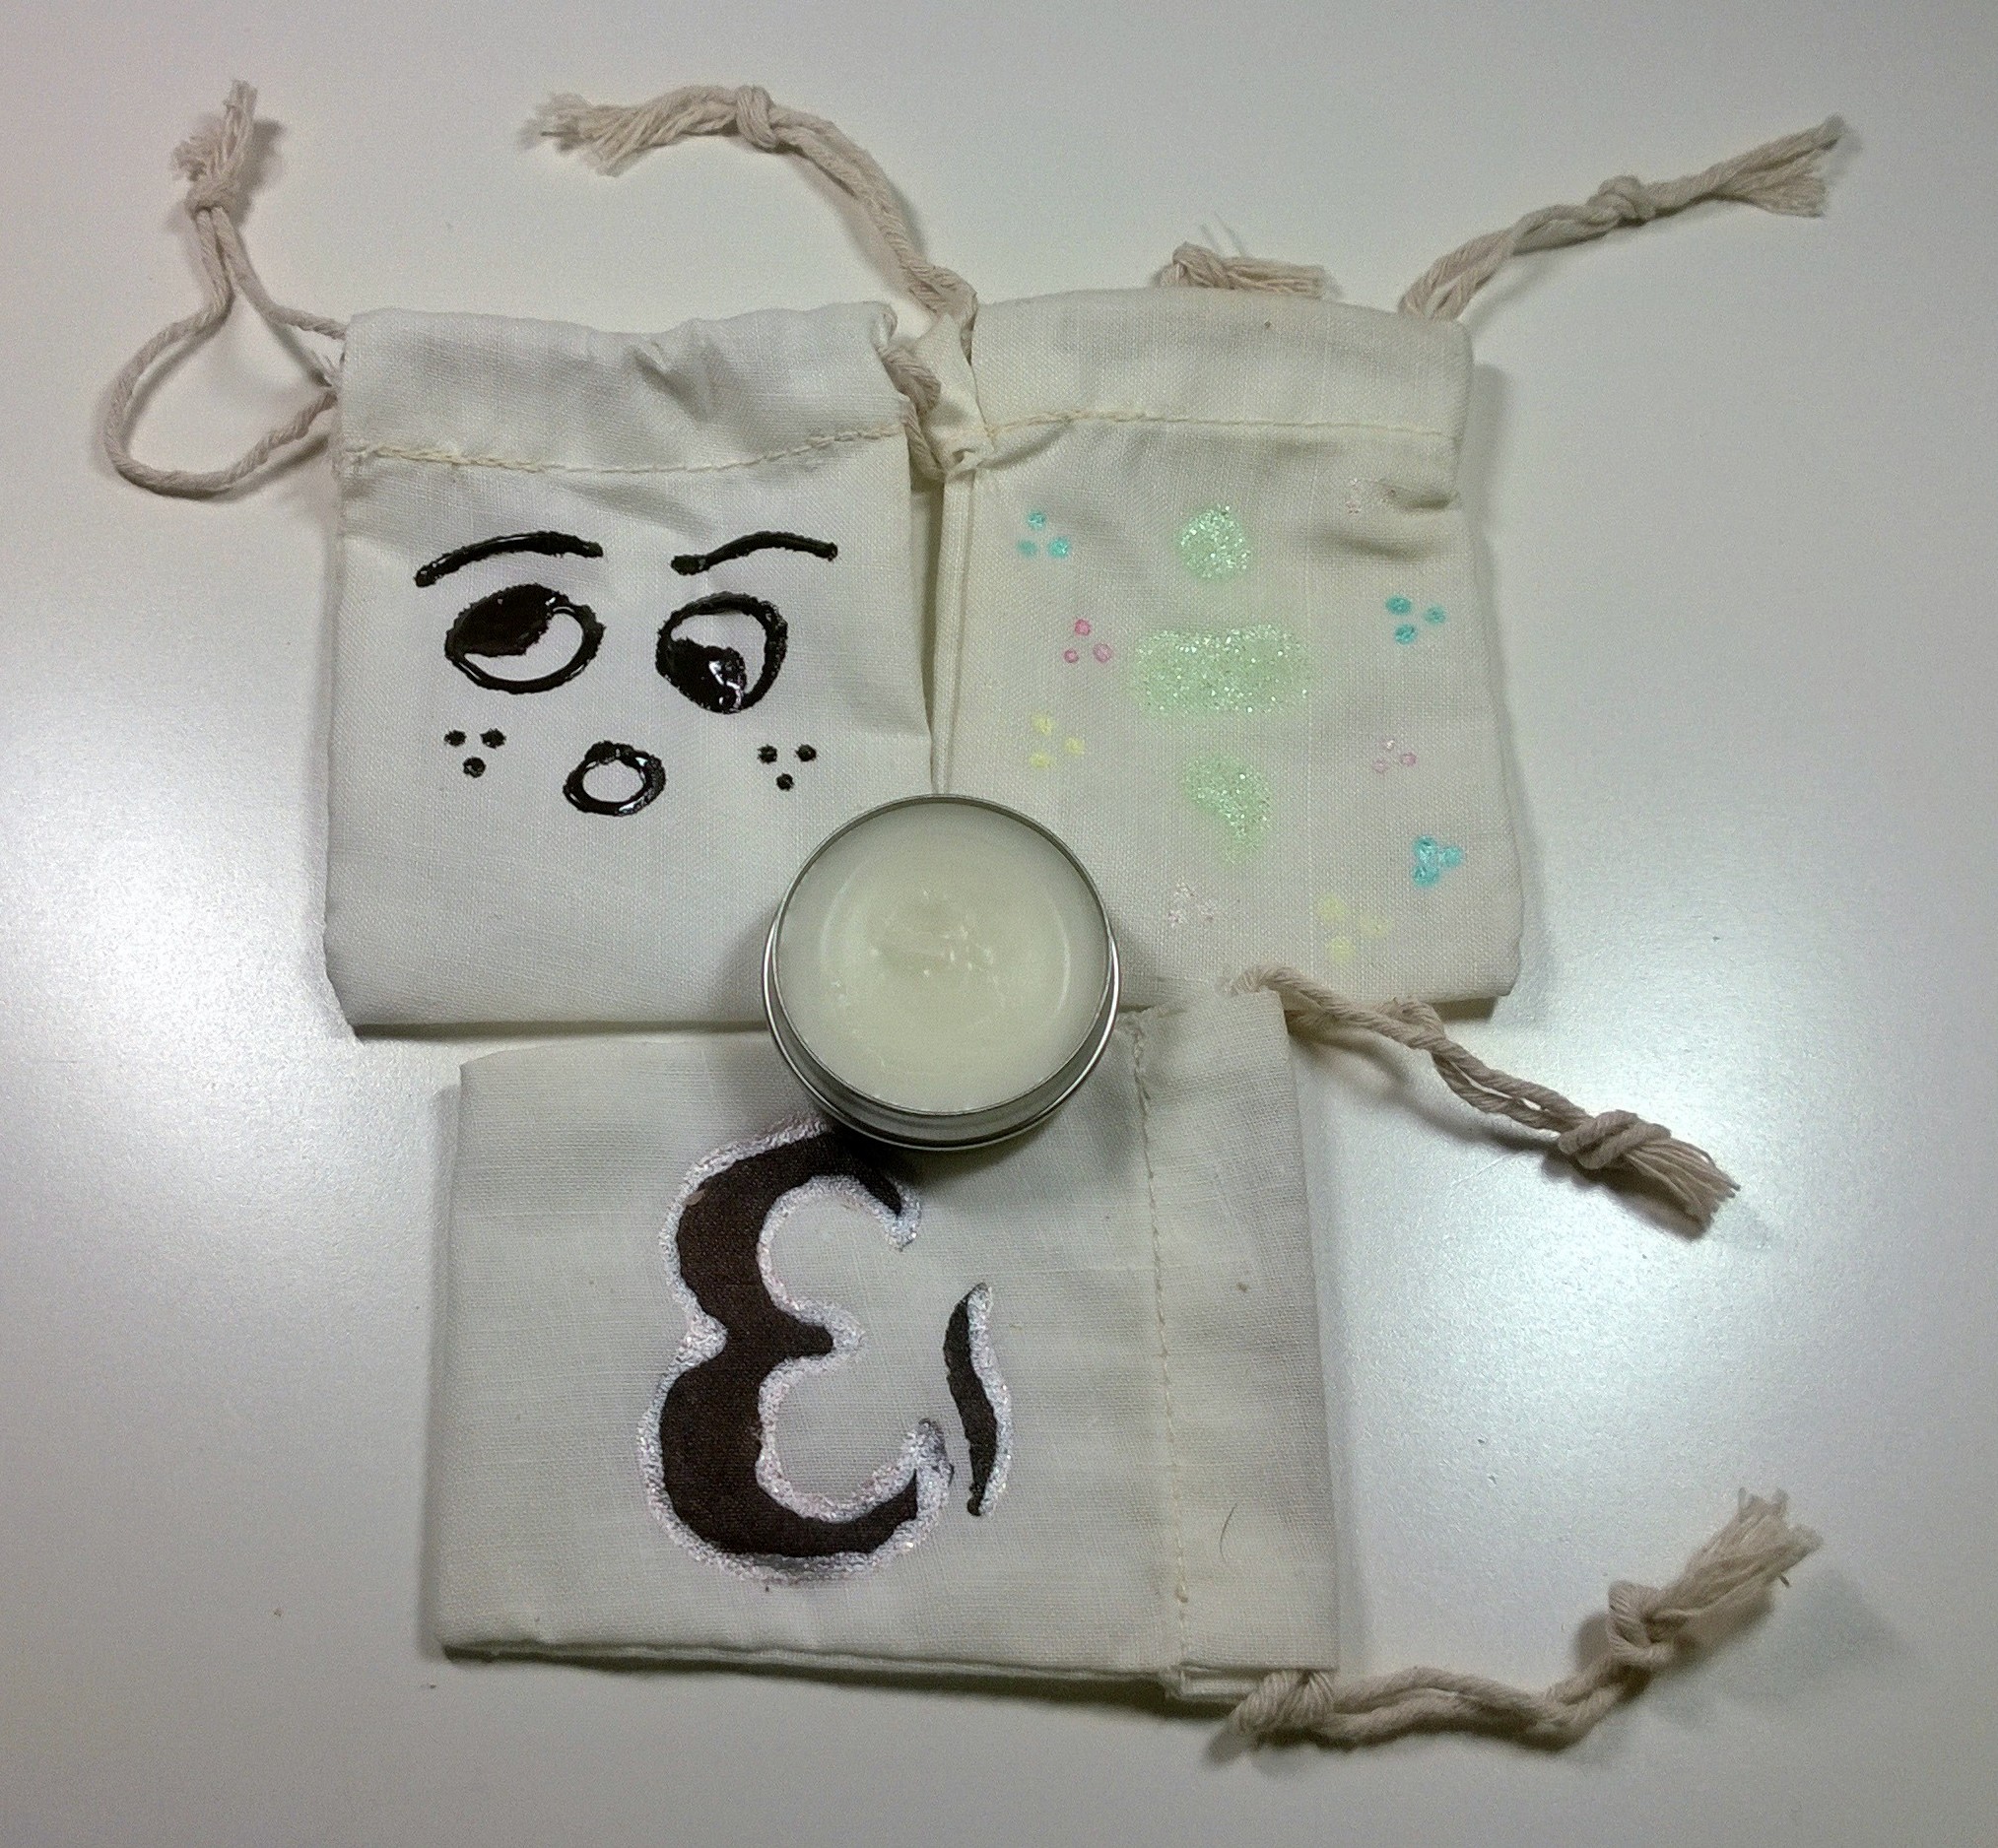
The Whimseybox for August 2013 was for DIY leather wrap bracelets.
Aside: I’m really tired of people appending “DIY” to things that are obviously going to be DIY already. Whimseybox is a craft kit box subscription service that you would subscribe to with the intent of making whatever craft they included in the box. Why do you have to advertise that it’s DIY? Did someone subscribe to Whimseybox thinking that they were going to get prefabricated crafts? If so, well…some people shouldn’t procreate. End aside.
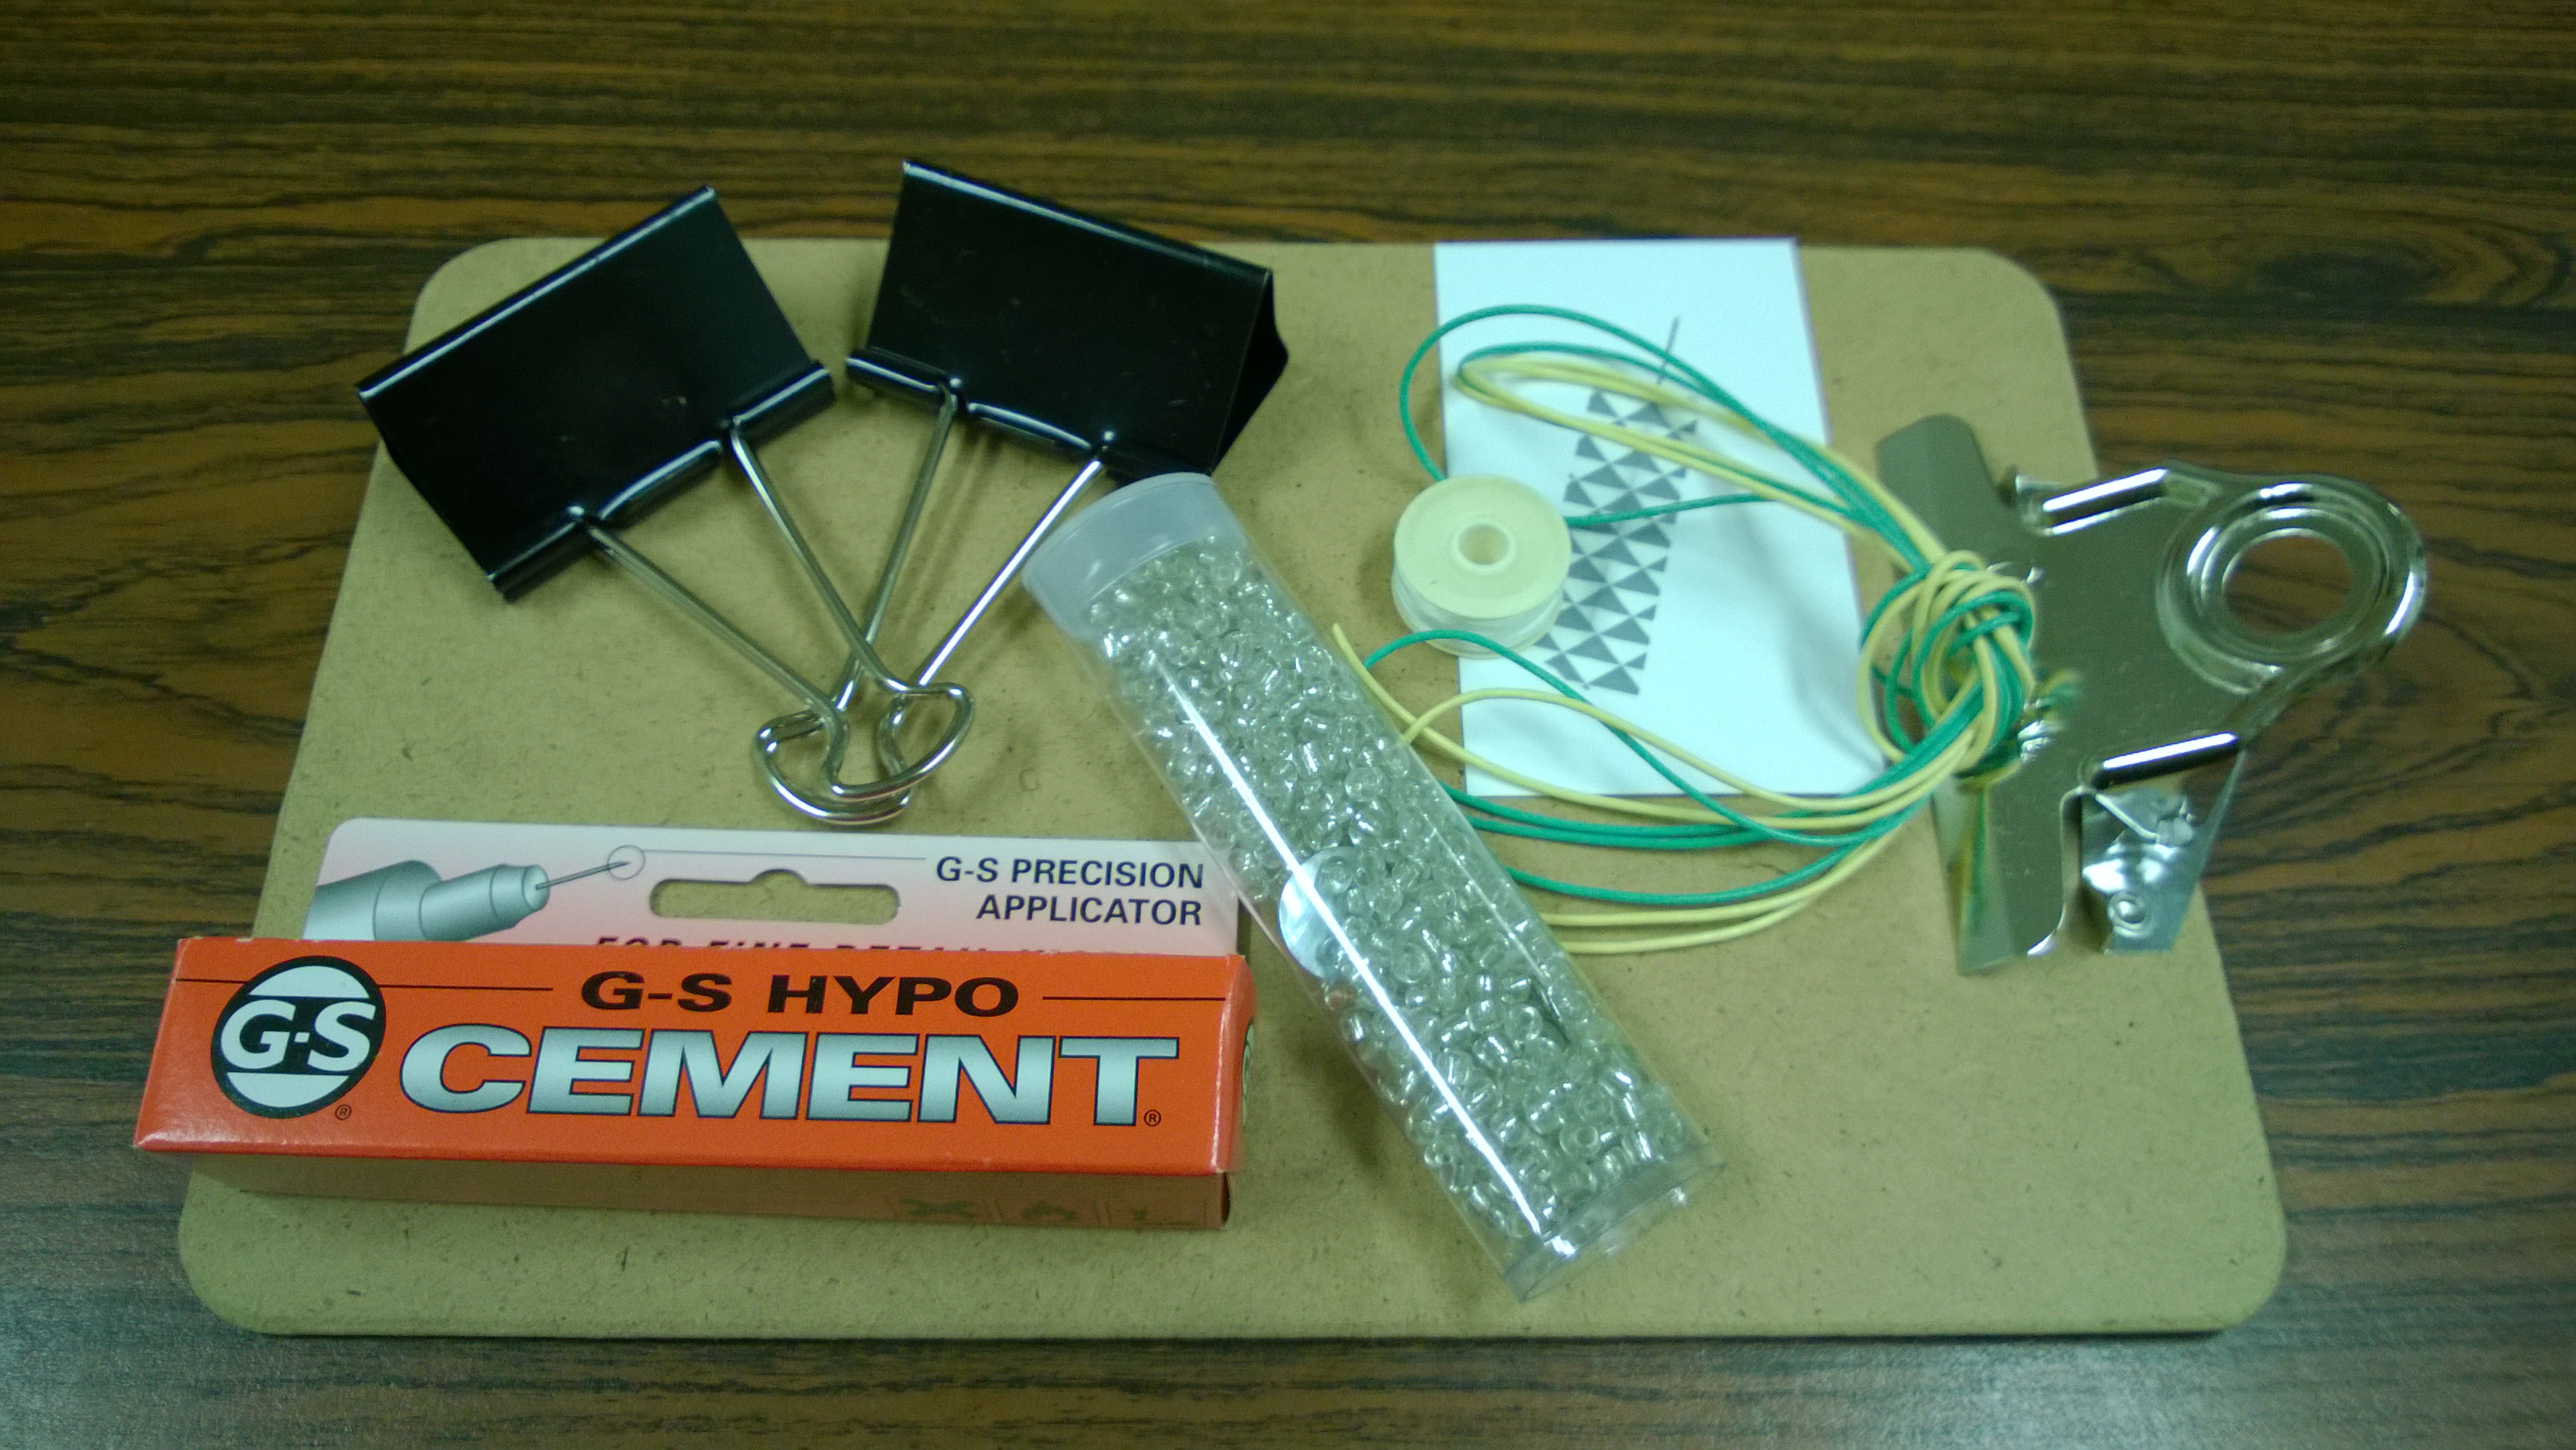
In the box was a mini clipboard (I found it hilarious that they included a clipboard), two giant binder clips, two leather cords, a spool of thread, a needle, a tube of glass beads, two buttons, and a tube of craft glue (probably my favorite thing in the box).
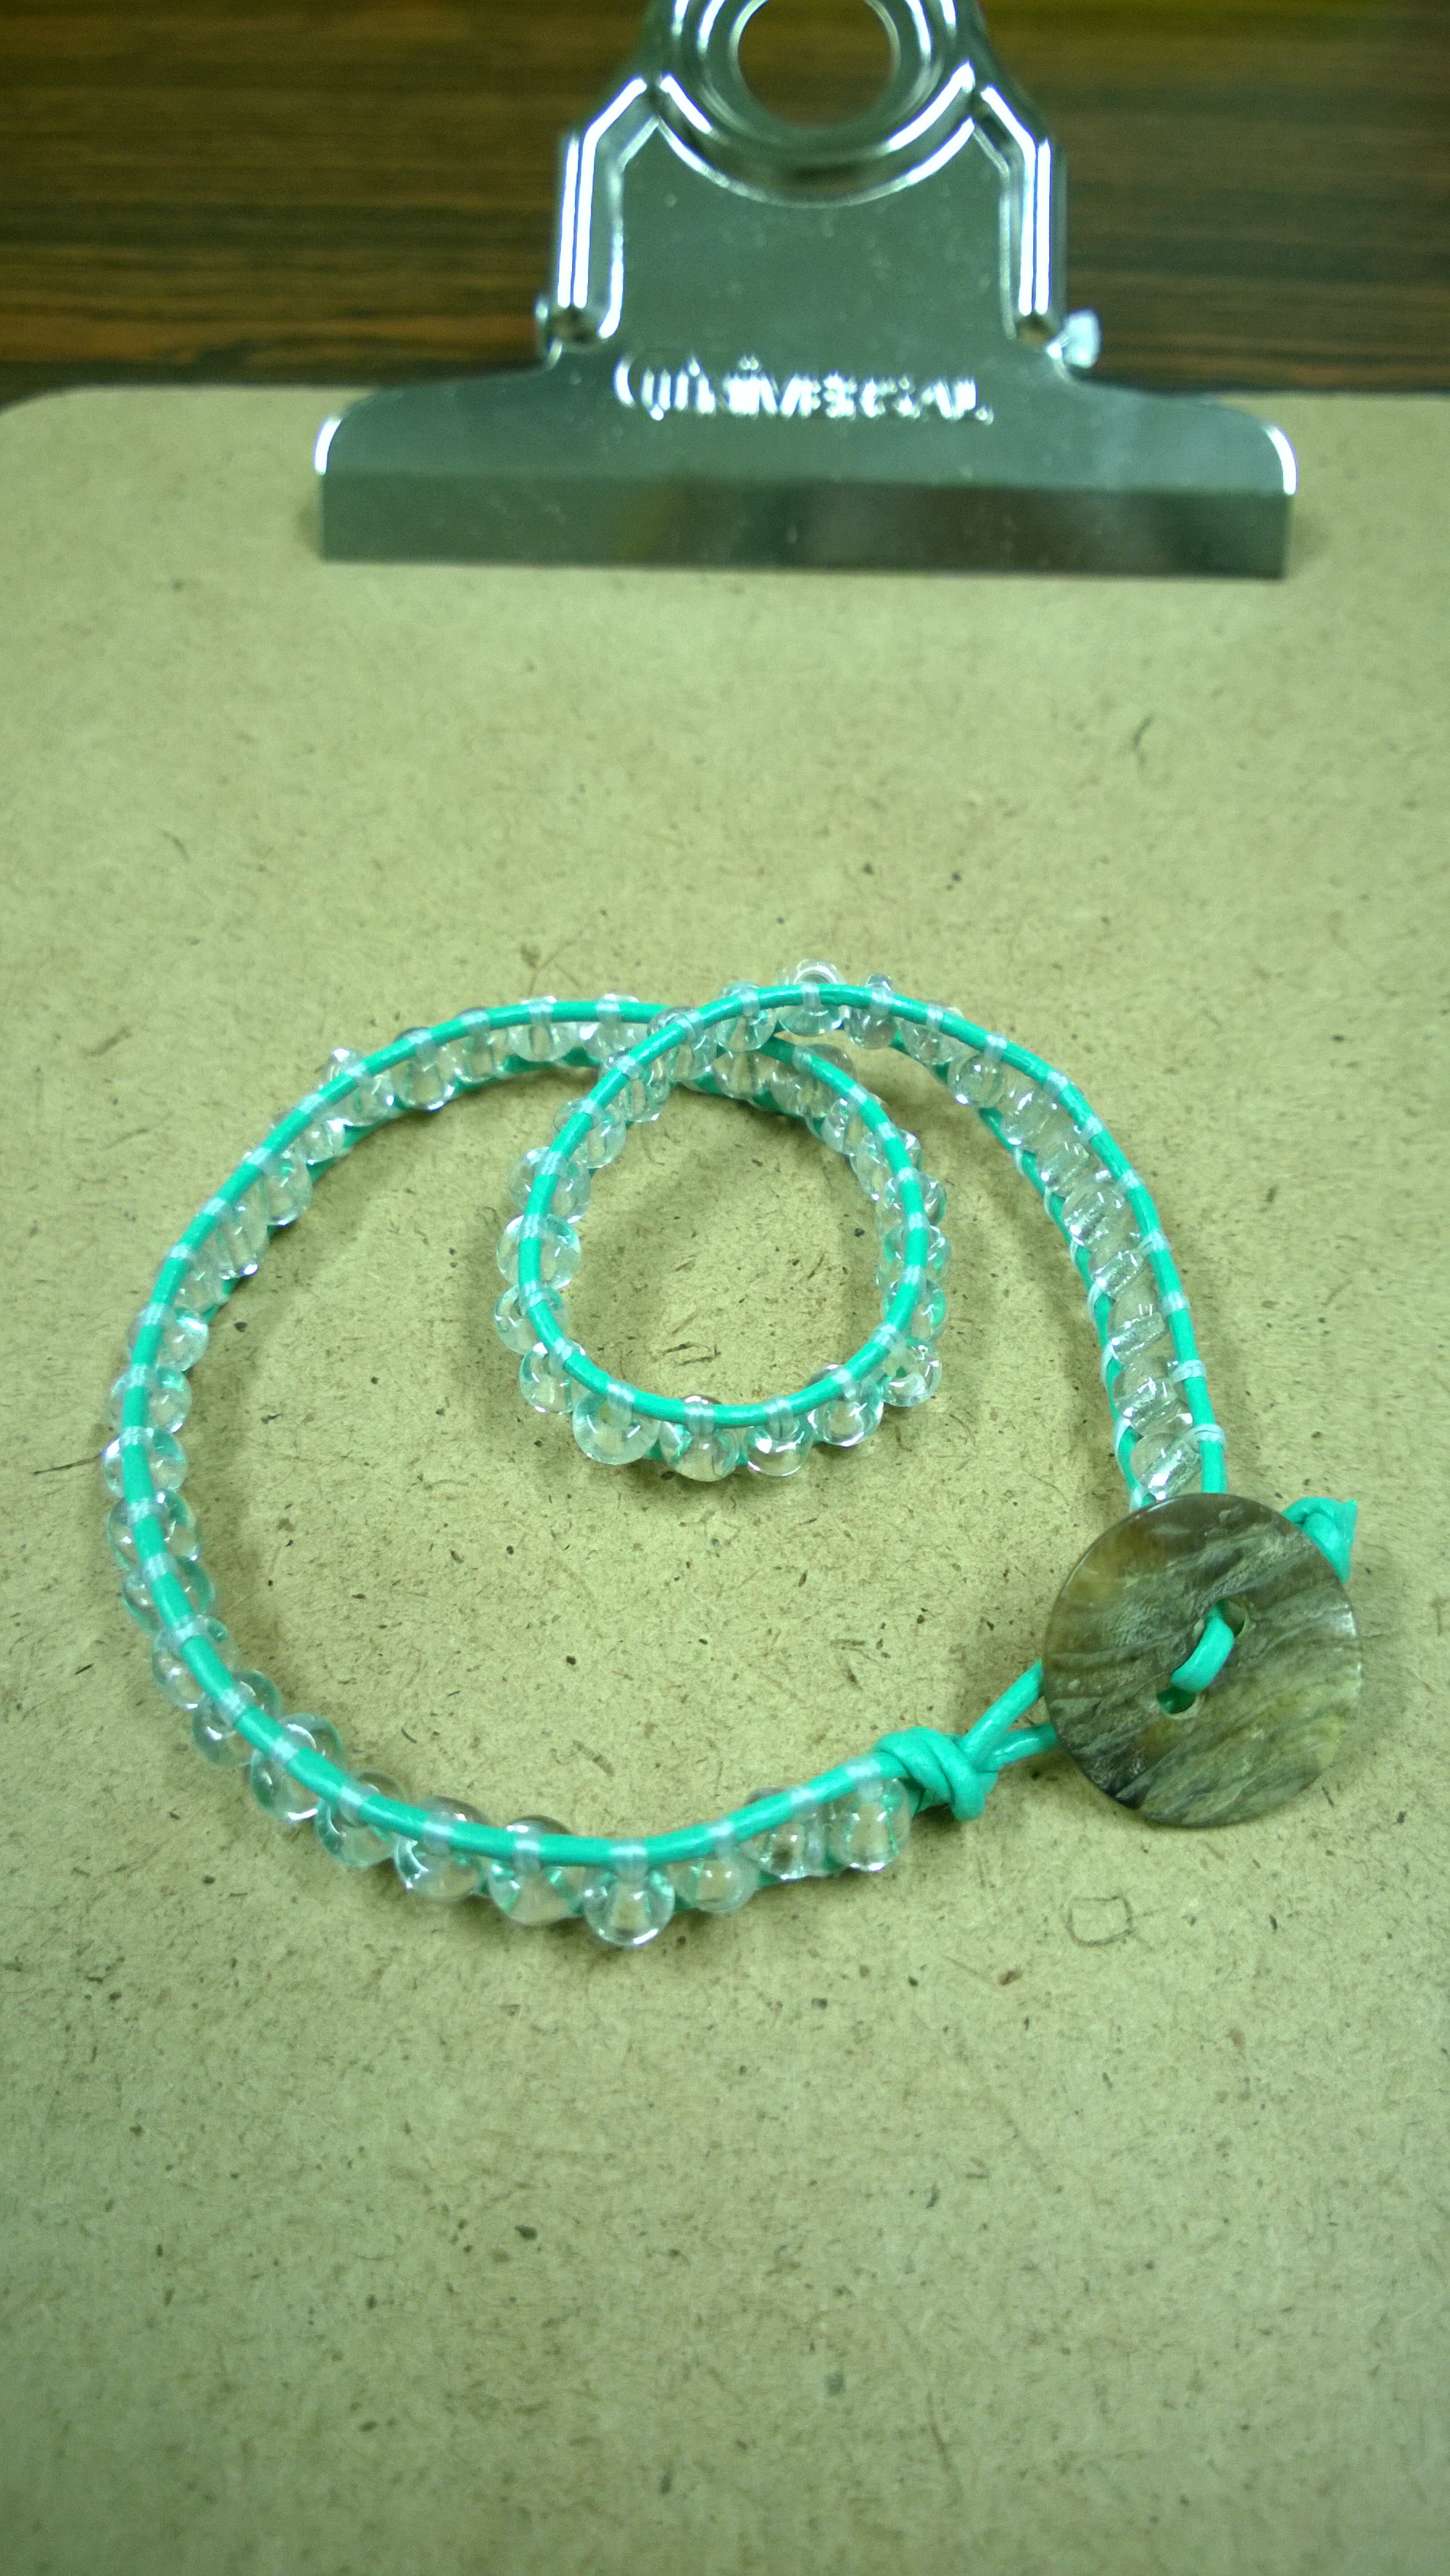
 The directions were simple enough. Fold one of the cords in half, thread a button and seat it at the midpoint, tie a knot, start beading. The provide enough material for two complete bracelets. You have more than enough beads for two. I guess I’ll add these to my bead collection that I’m accruing. I like glass beads but you can only use so many.
I had meant to do these with the girls on a Friday, but we ended up not getting around to it. I made one just for the fun of it. And um…now I have this bracelet. Not really sure what I’m going to do with it. I don’t really wear things that are not functional. Maybe Yaris would like it. She’s rather vain. But she’s not really big on accessories. She just preens and thinks she looks good. I could give it to one of my moose instead for safekeeping, I guess. Yeah…
 The glue is definitely my favorite thing they sent to me in the box.