Ok, so remember this preview?

We did start making the bags, but it’s taking kind of a long time to finish them. Choosing cloth and arranging them into a pleasing fashion takes lots of time. Actually, I think I had said last time that just choosing, cutting, and arranging was about half the project time.
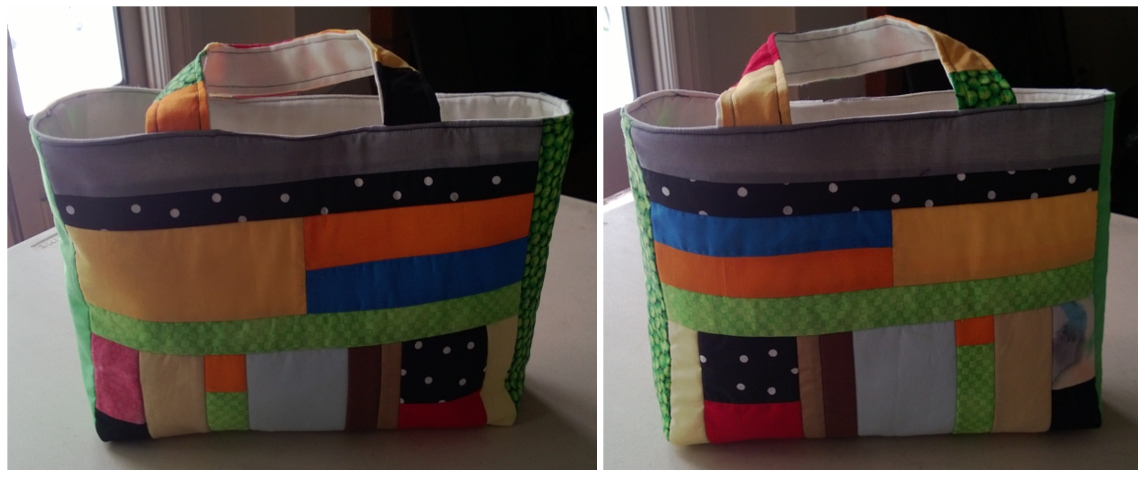
So, this project was borne out of another ill-fated attempt to thin out my scrap pile. It disappointingly didn’t make much of a dent. That makes me kind of sad. But I do have this colorful tote bag now. That’s something, right?
I got the idea for the bag while searching for things to do with cloth scraps. It’s something I do from time to time, especially after I take a look at my scrap pile. I found this pattern for a scrappy patchwork bag from Sew, Mama, Sew and modified it a bit, because I didn’t actually want to quilt.
You see, I’m kind of lazy and I needed a relatively QUICK project. Her tote bag was quilted. Quilting takes awhile. I did not want to spend that much of a while to do it. So I cheated. I used the same technique as from the mug rug.
Materials:
- scrap cloth cut into strips
- batting or iron on Pellon
- more scrap or cloth for the interior
- scrap for straps if you plan on making your own straps
- thread in a coordinating color (or not)
Procedure:
- Decide how big you want your bag to be and cut your batting and inner lining pieces to size. You’ll have two pieces of batting and two pieces of the inner lining when you’re finished. While this isn’t exactly necessary and you can make things up as you go along, pre-cutting does make things easier when you’re laying out your design.
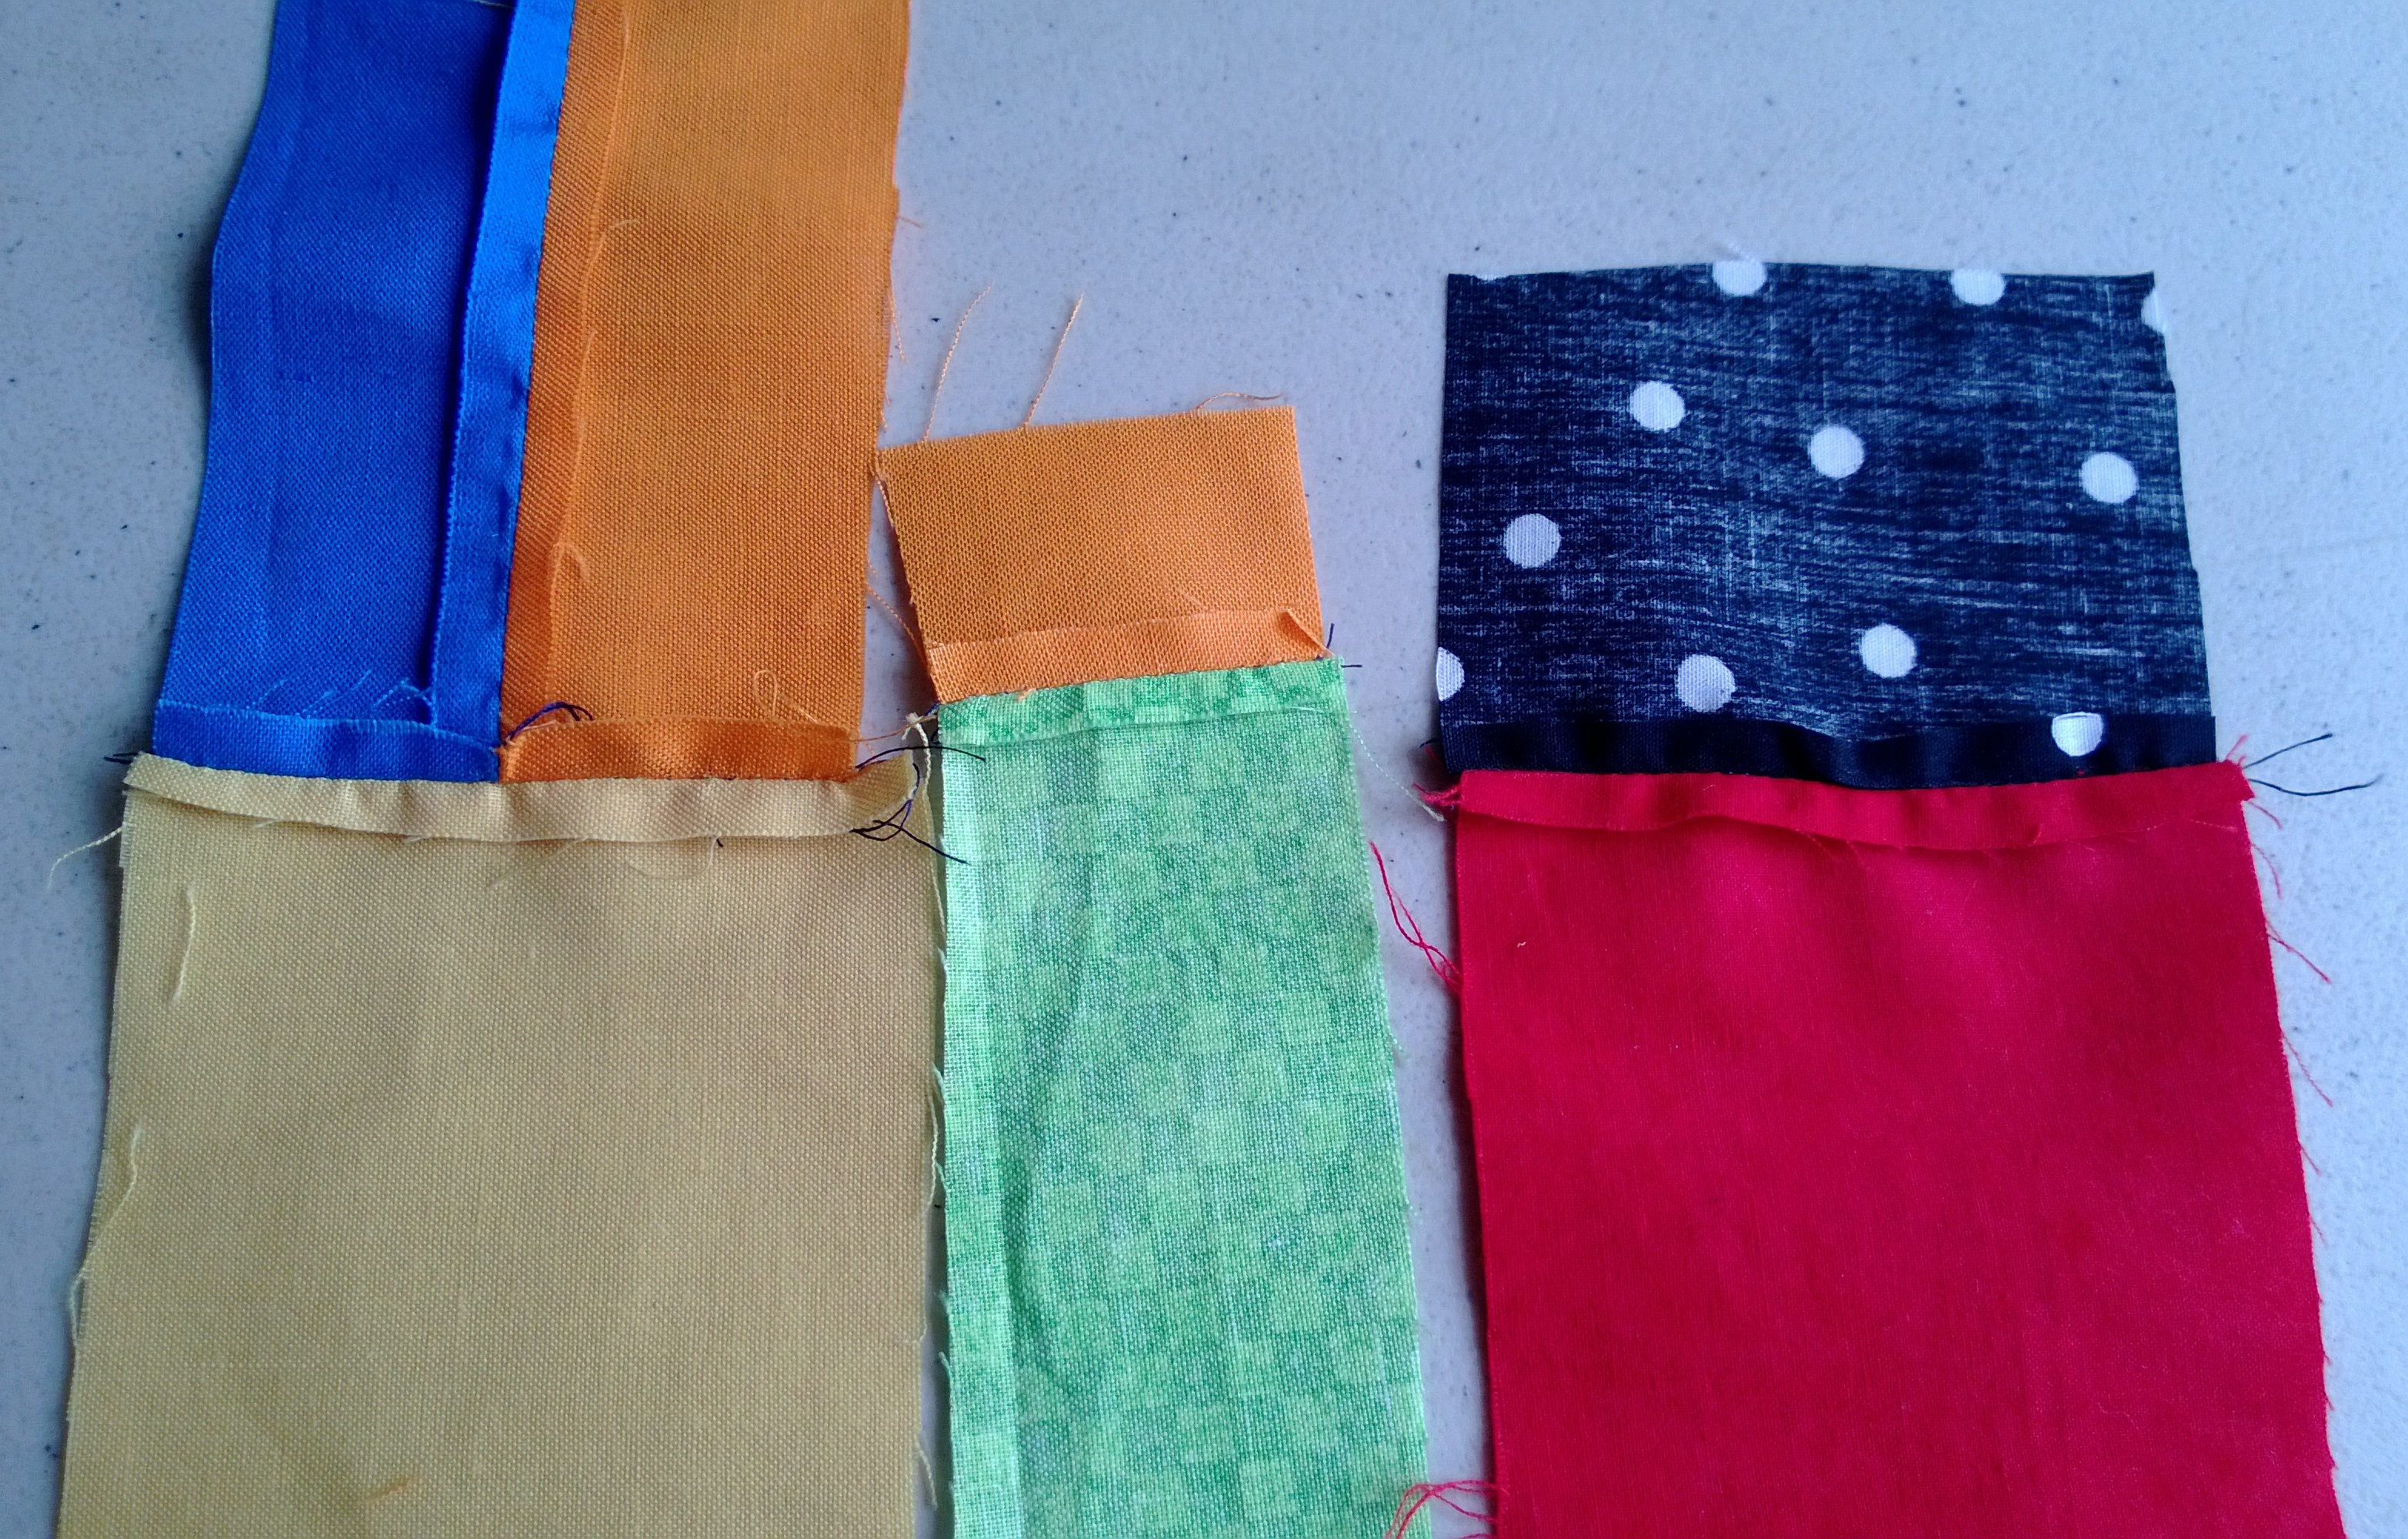
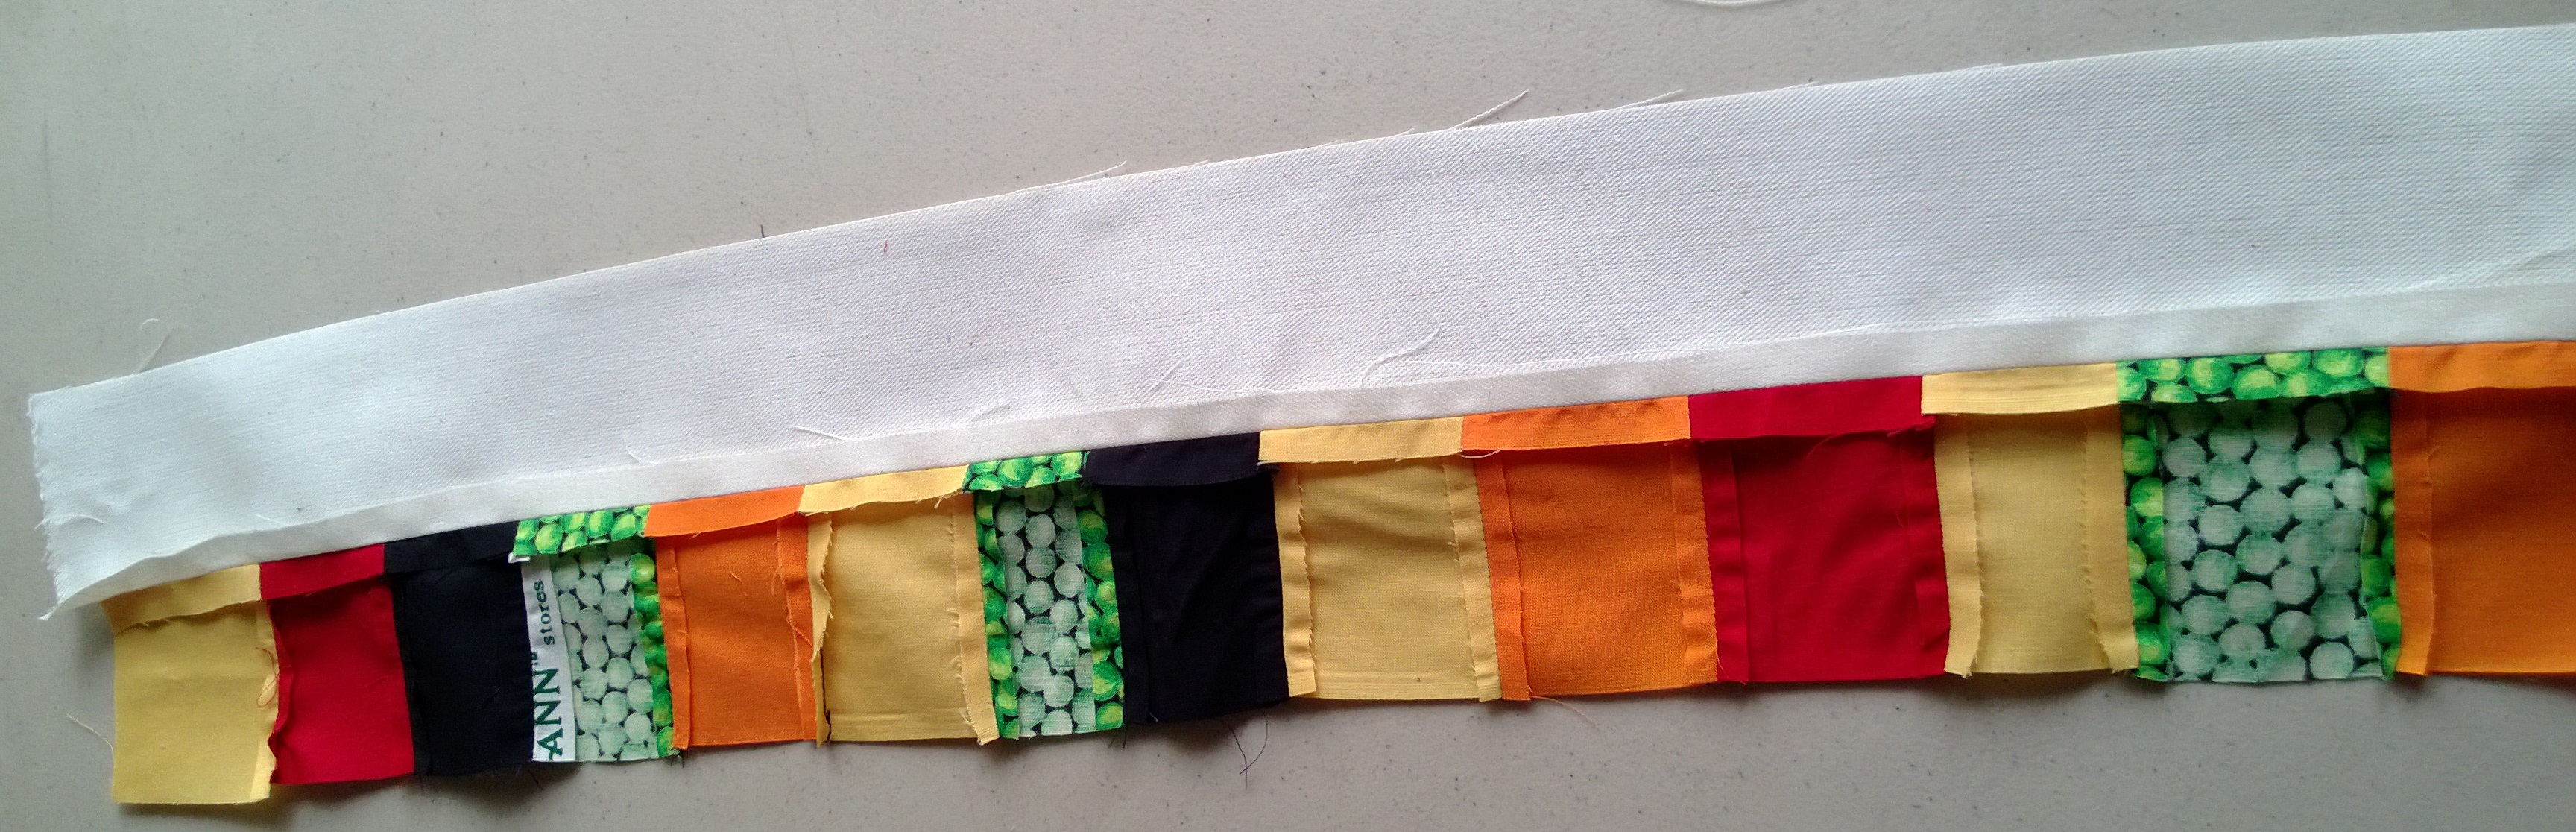
- Arrange your cloth strips over the batting. Ideally, you’ll want 1/4″ overlap everywhere and 1/4″ extra overhang on the sides so you’ll have plenty of room for the seam allowance. If the strips are really long, you can trim them later. It’s much harder to make short strips magically longer.
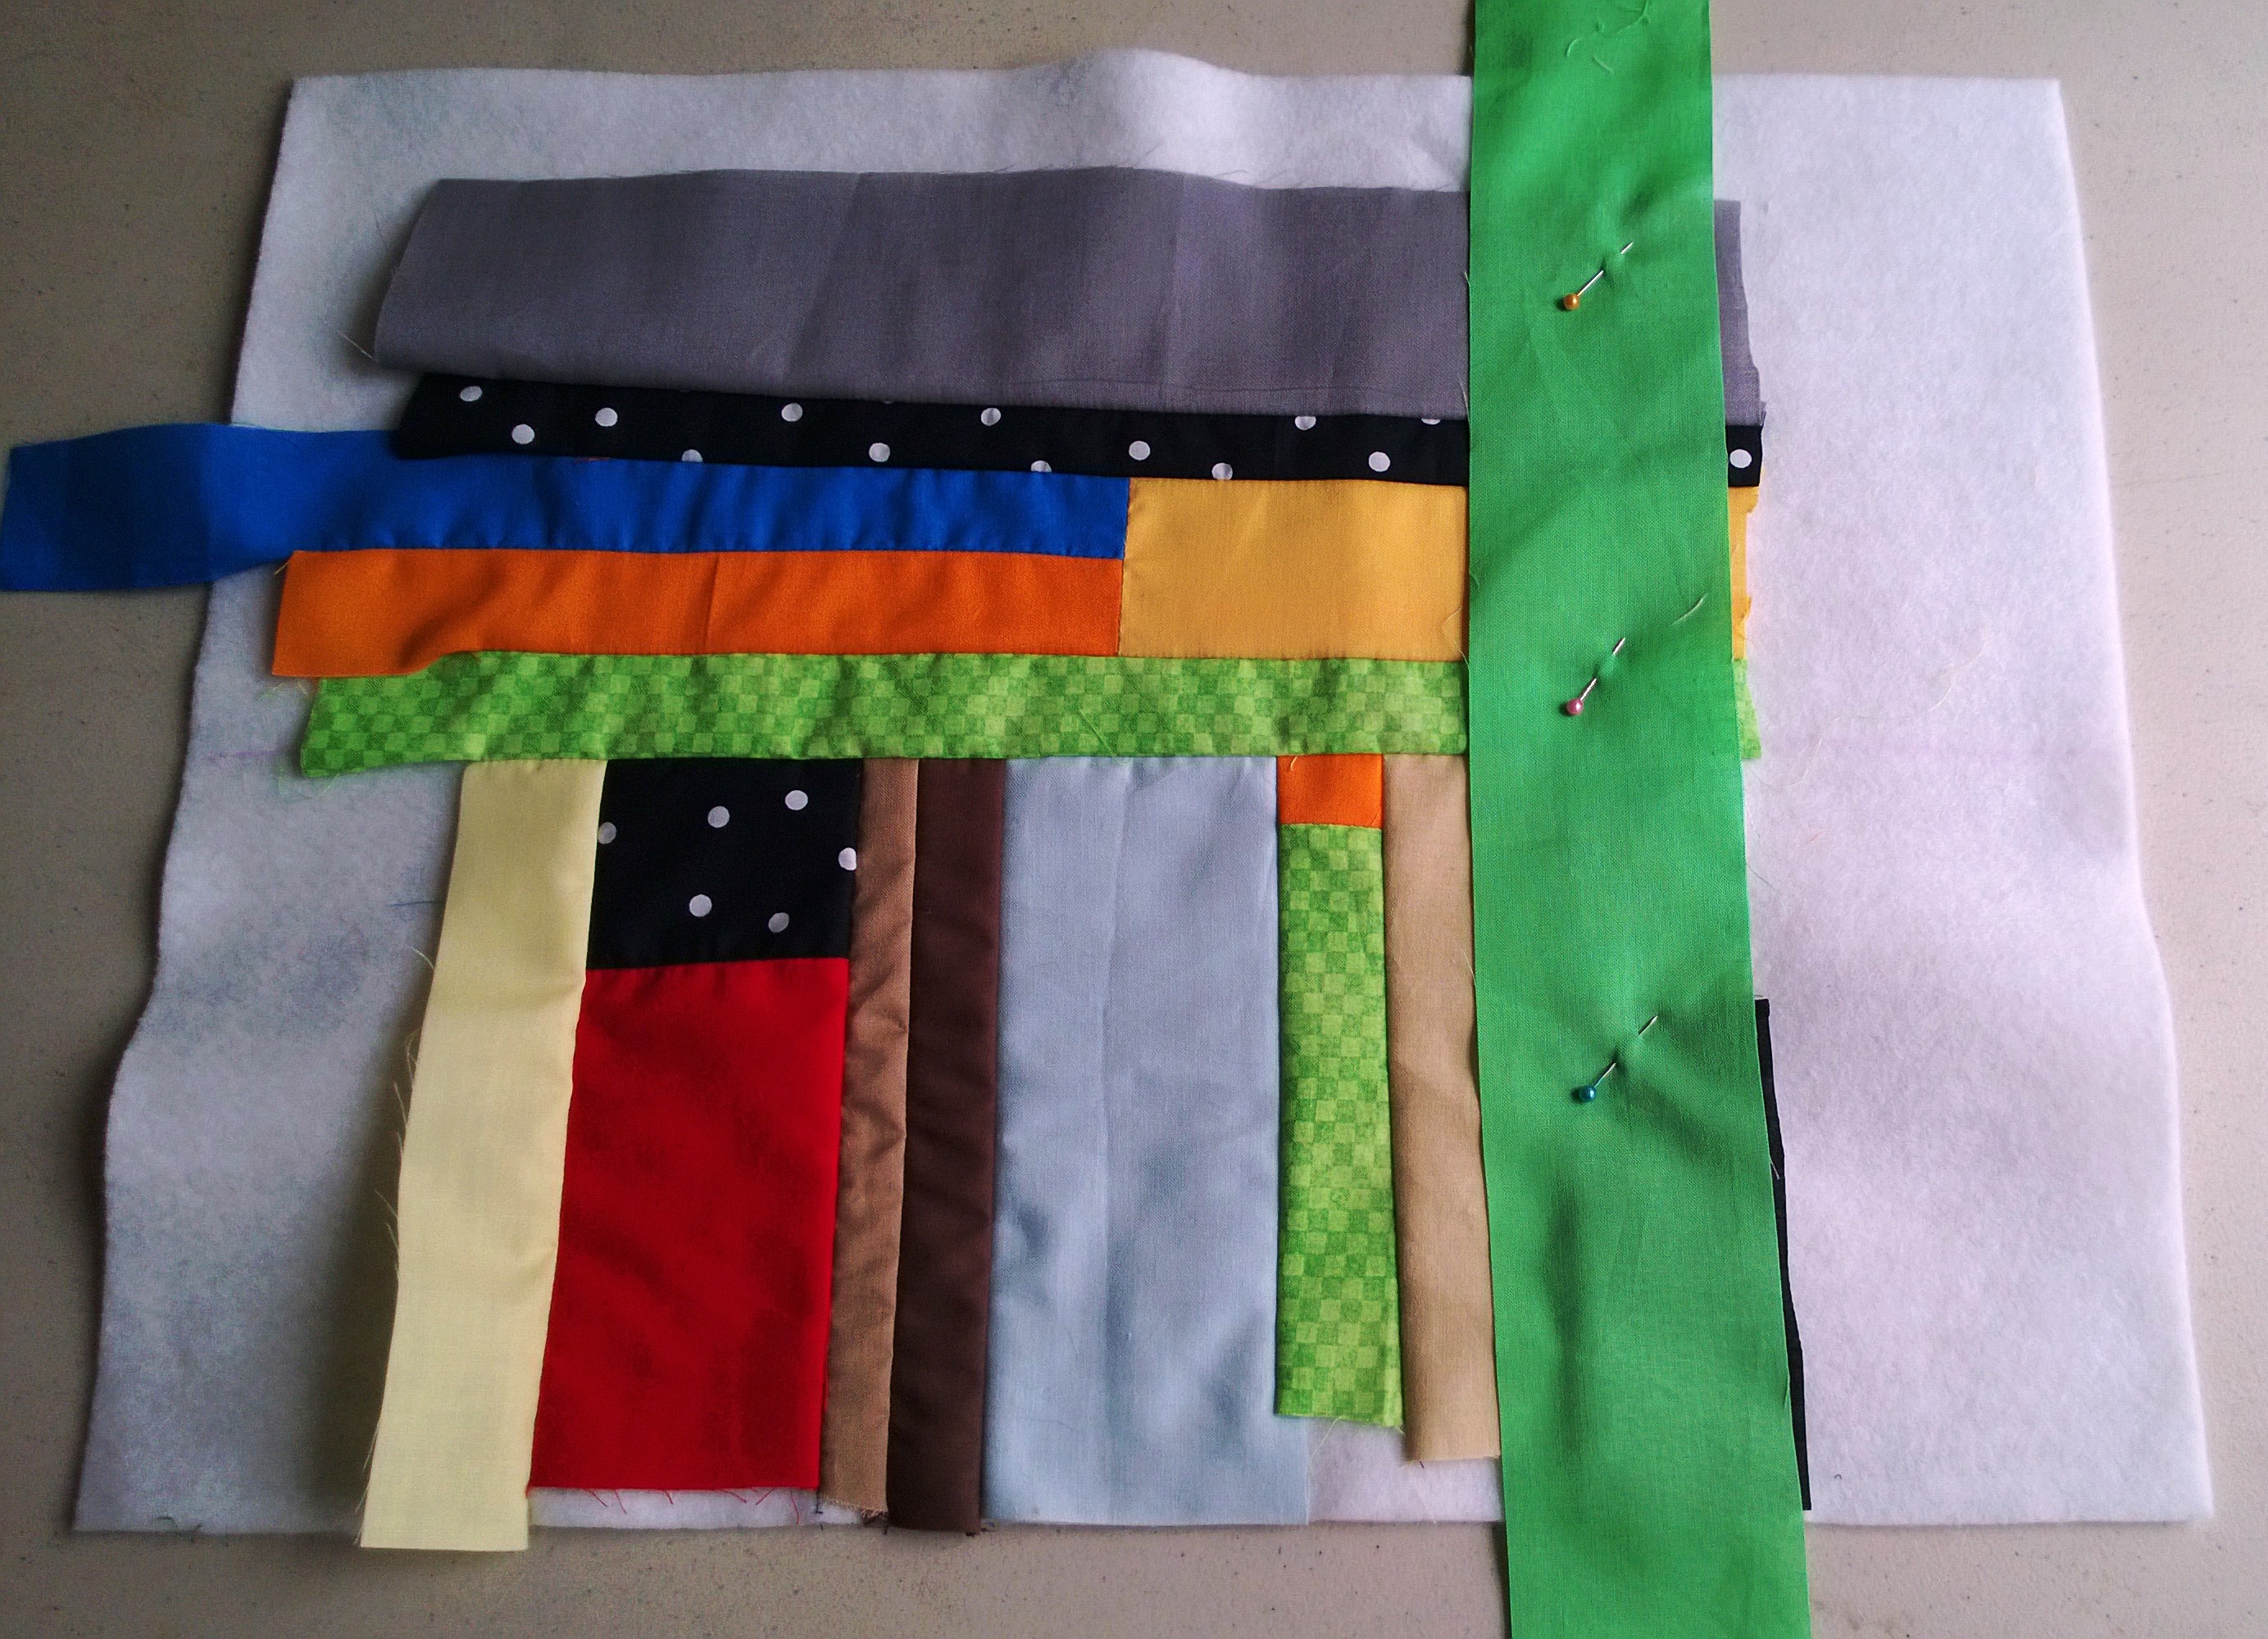
If you want the sides of the tote to match, you’ll want some ~2″ wide strips of cloth on either side of the bag. Otherwise, I divided the space in half and laid out strips vertically on the bottom and horizontally on the top. You also don’t have to make single sized strips all the way across. I joined a few together to make one large strip.

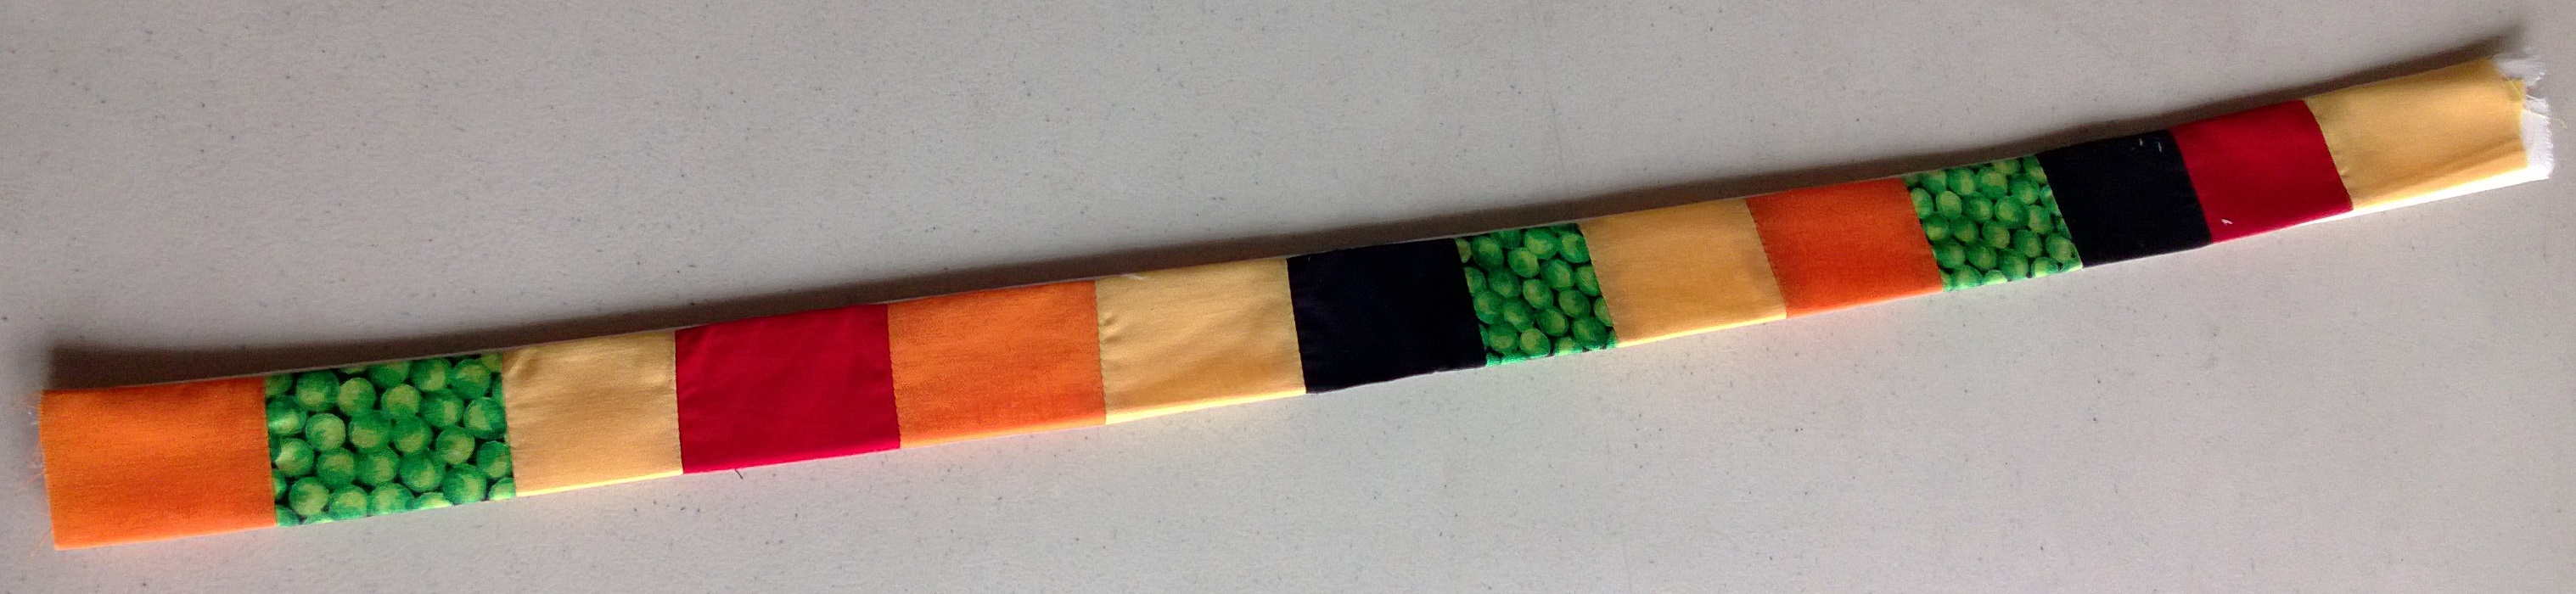
- Assemble any multi-piece strips. A 1/4″ inseam is plenty. After doing so, iron all the seams flat. I suppose you don’t have to, but it makes for a lumpy bag later.

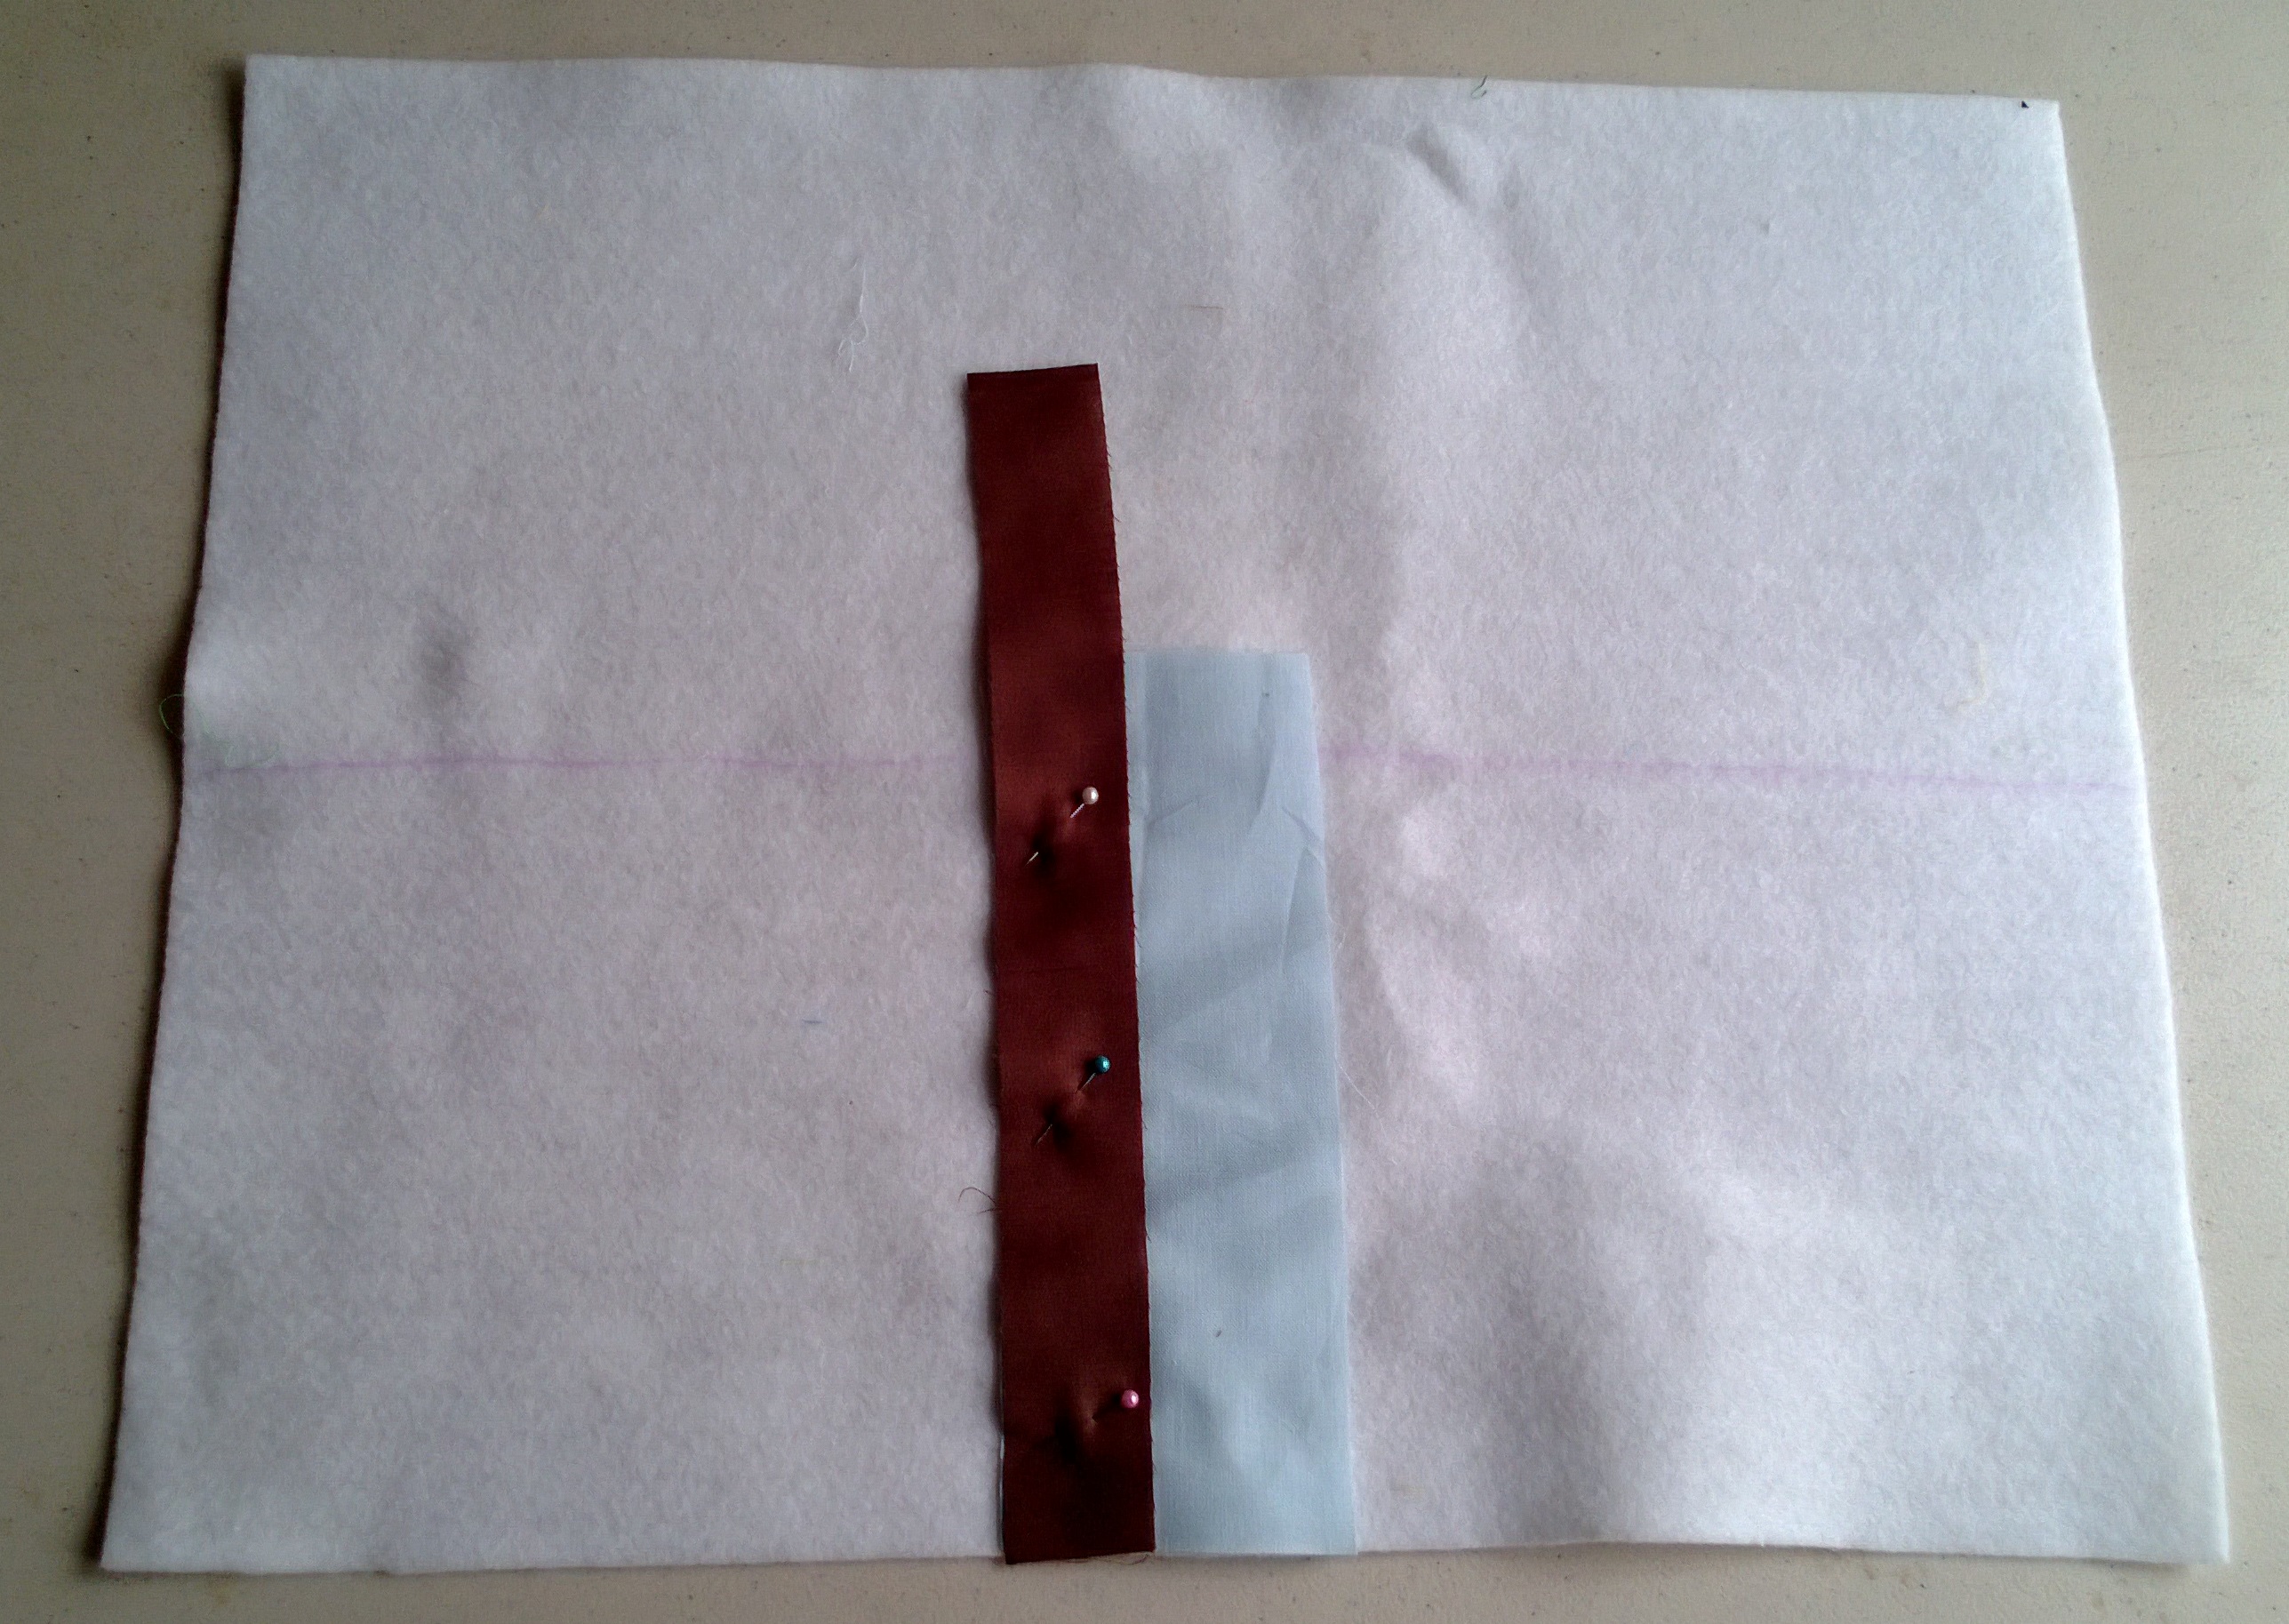
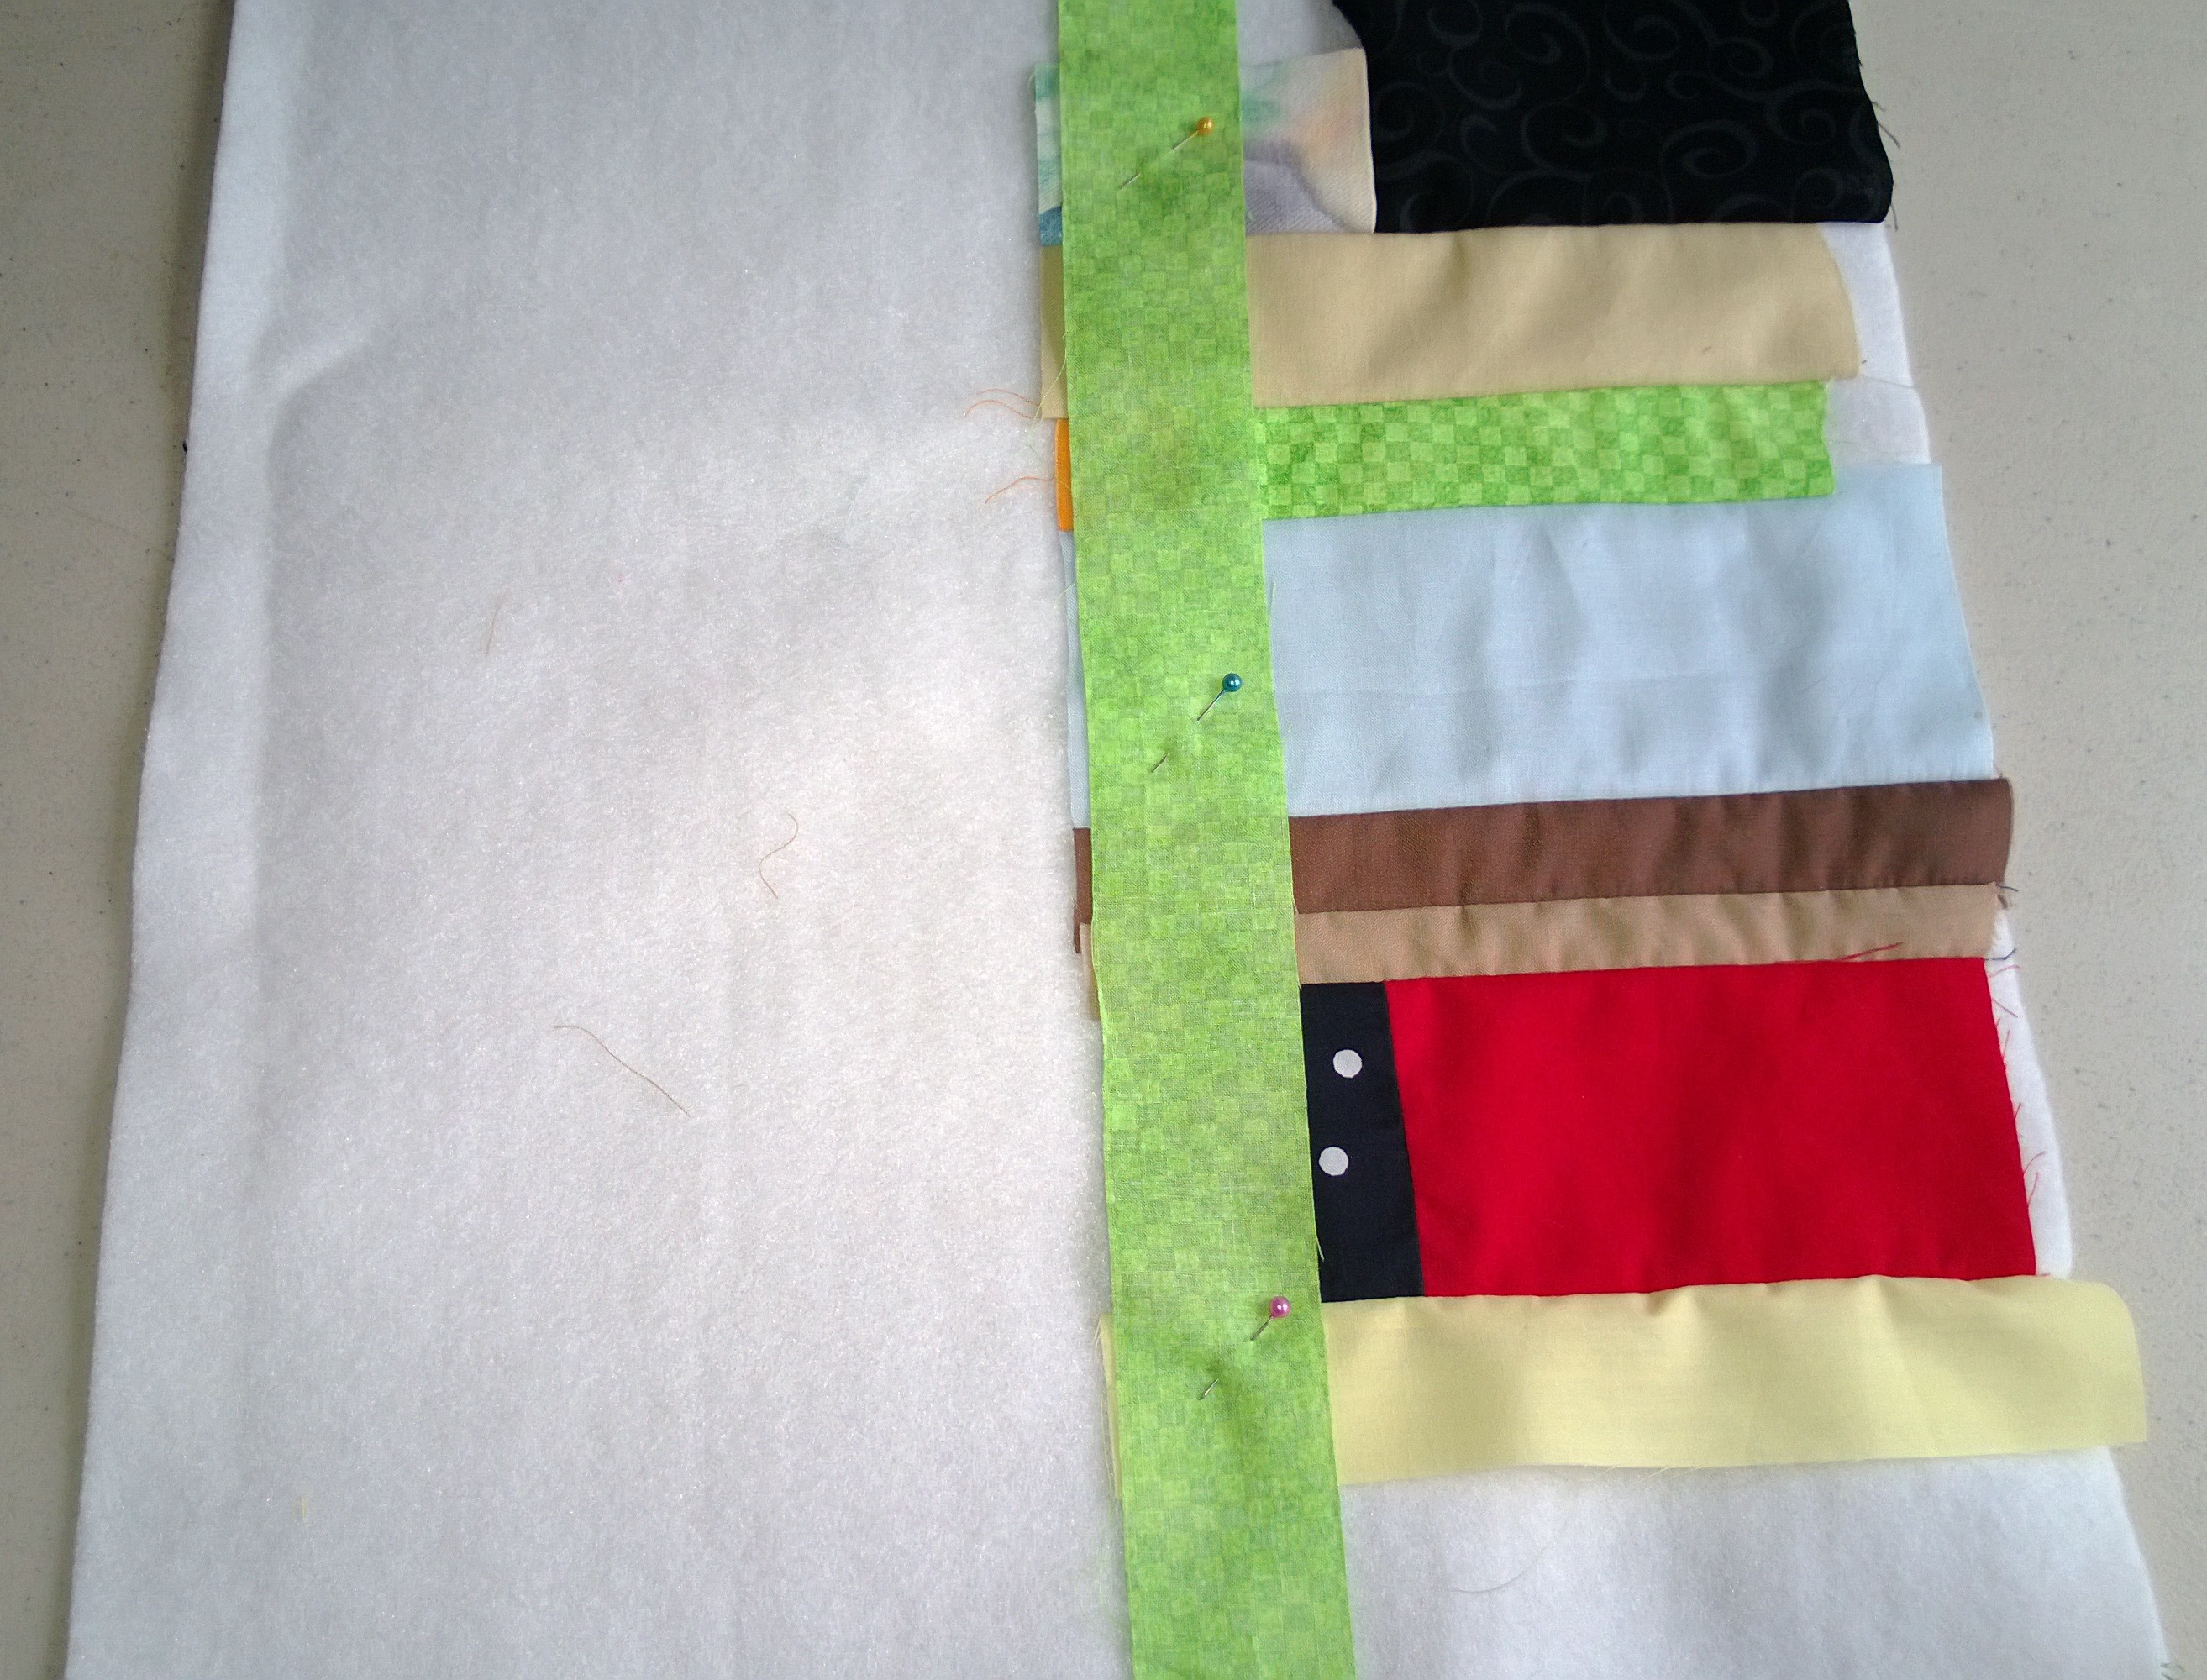
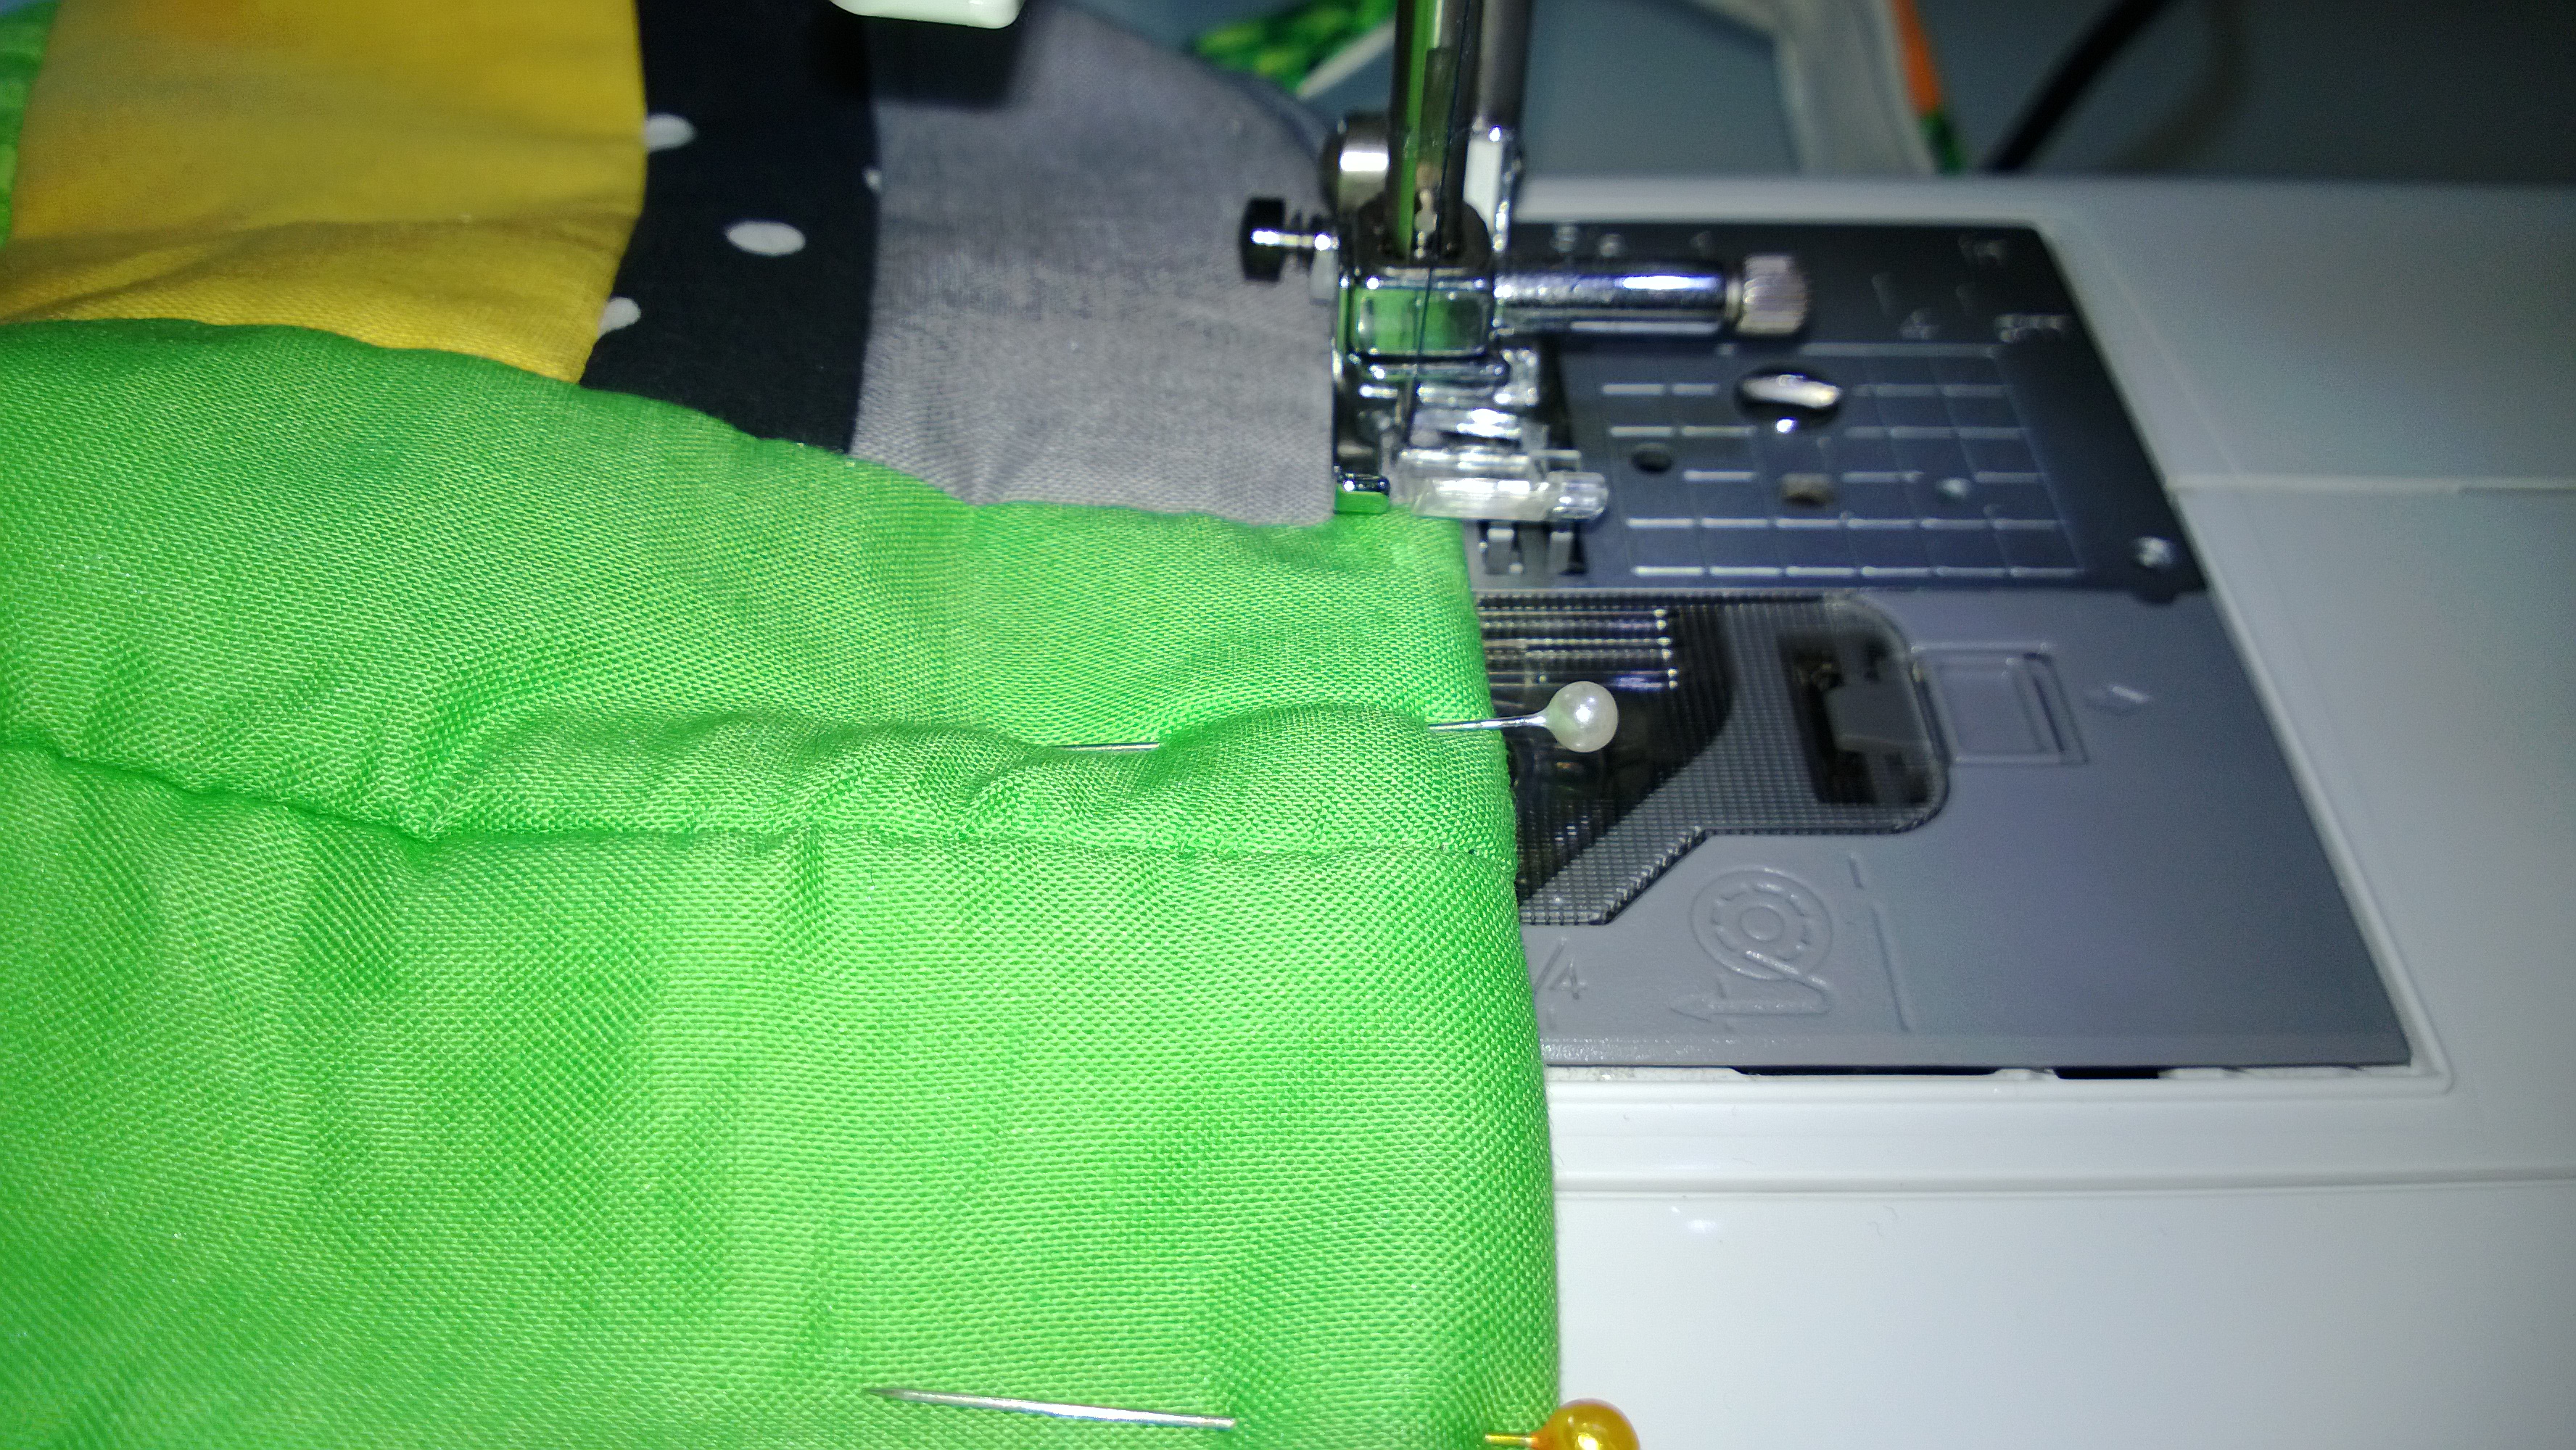
- Sew your vertical strips to the batting starting in the middle. This is the same technique as the mug rug. You’ll want to sew with the bumpy side away from the cloth. There are more detailed directions in the post or in the reference post if you need it. Remember to keep the extra 2″ or so on each side if you’re using the wide strips for the sides of the bag.

- Sew your horizontal strips to the batting, starting in the middle of the batting. It’s much like the last step, just in a different direction.

- Sew your on your side strips.

- Repeat steps 3-6 for the other side of the bag. You’ll want to do everything mirror image if you want things to match on the other side.
- Trim your assembled batting pieces and lining if necessary. Just make sure everything is the same size when you’re finished. And if you’re trimming your batting pieces and you want the two sides to match, you’ll want to match all the seams with the right sides together and then trim. You can use those pieces to figure out how much you need to trim your lining afterwards.

- Sew your batting pieces right side together around three sides. I believe I used a 5/8″ inseam. Make sure your seams are lined up if you want the two sides to match.

- Repeat for the lining pieces.
- Pinch a bottom corner of the batting pieces and measure an isosceles triangle and sew across the bottom of the triangle. Trim the excess to 1/4″. Repeat for other side and lining. I apparently didn’t take photos of this. I’ll just have to refer you to the original, step 16.

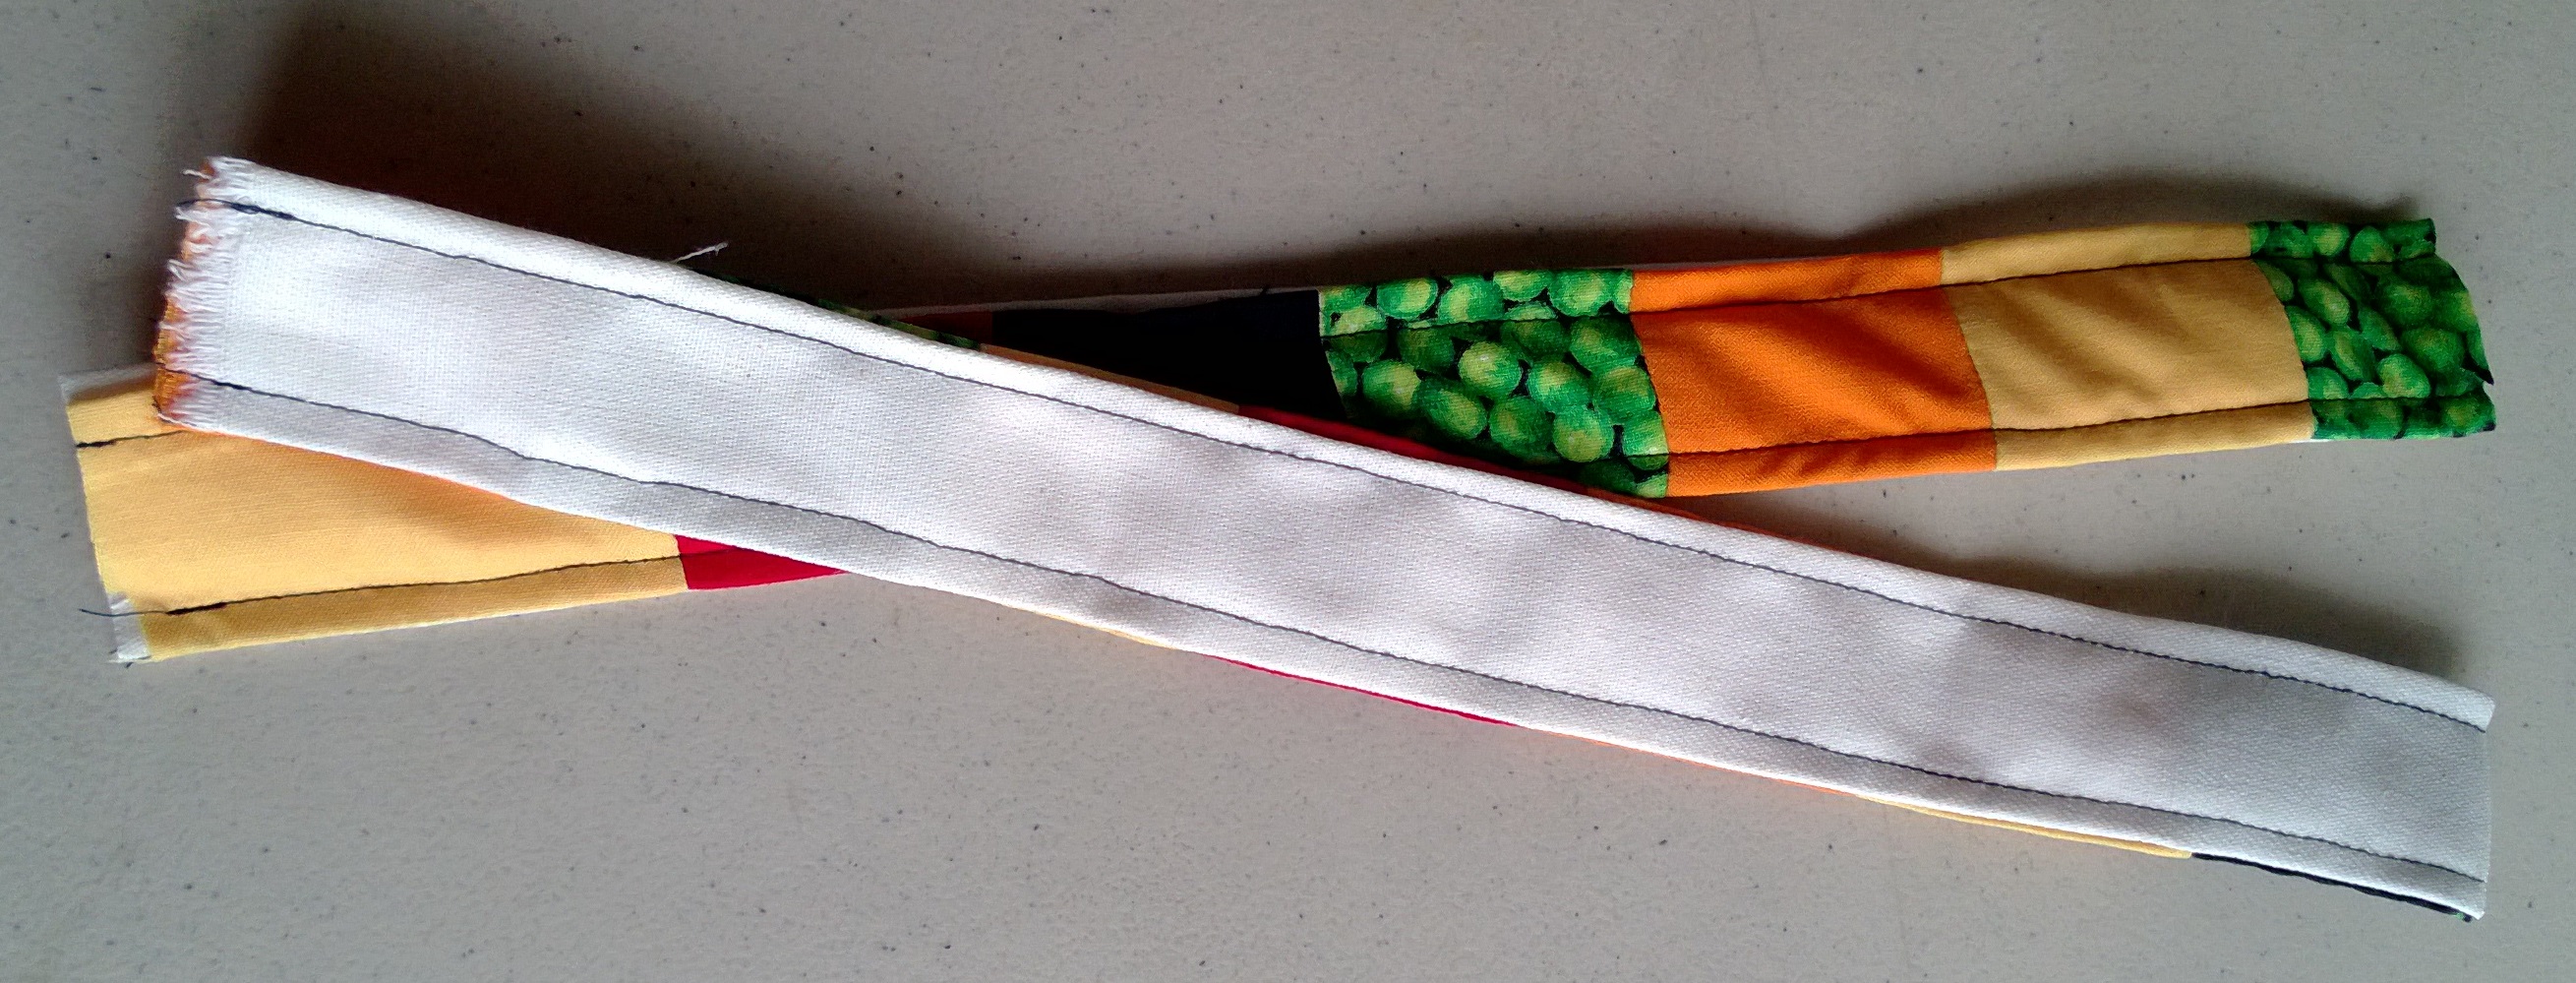
- Assemble the straps. It’s the same idea as before: sew all the scraps together first and then iron all the seams flat. I made one long strap which I then cut in half. I don’t have any dimensions for you though. I kind of just eyeballed it.
Take your long scrappy piece and sew it right side in to the lining piece. I used a pretty fat inseam here because the straps will be bearing a lot of weight. I’d say leave at least 5/8″. Also, try to keep things as flat as possible. You’ll see that I have a scrappy piece in the middle with a wrinkle. That came back to haunt me. It’s really hard to have a nice, smooth, straight strap with the wrinkle there.

- Fold the edges of each side of the strap with the edges meeting at the middle seam. Iron the folds flat.

- Fold the strap lengthwise with the loose edges inside. Iron the fold flat.

- Sew along both edges of the strap, 1/8″ inseam. Cut the strap in half.

- Pin the straps to the outside portion of the bag. I had meant to make the straps opposite of the bag design, meaning that the solid side of the strap would show when with the colorful side of the bag and vice versa. But I wasn’t paying attention to what I was doing and I ended up making everything match. Oops.

- Insert the lining into the bag with the right sides facing in and sew around the open edge with a 5/8″ inseam. Remember to leave an opening so you can flip the bag right side out. I suggest starting to sew at the inside edge of one of the straps and sewing all the way around to the inside edge of the other side of the same strap.

- Flip the bag right side out.

- Sew around the top of the bag with a 1/8″-3/8″ inseam.

- Iron the inside of the bag if you’re using iron on Pellon. And you’re finished! You have a bag and made a very small, minuscule dent into your scrap pile!