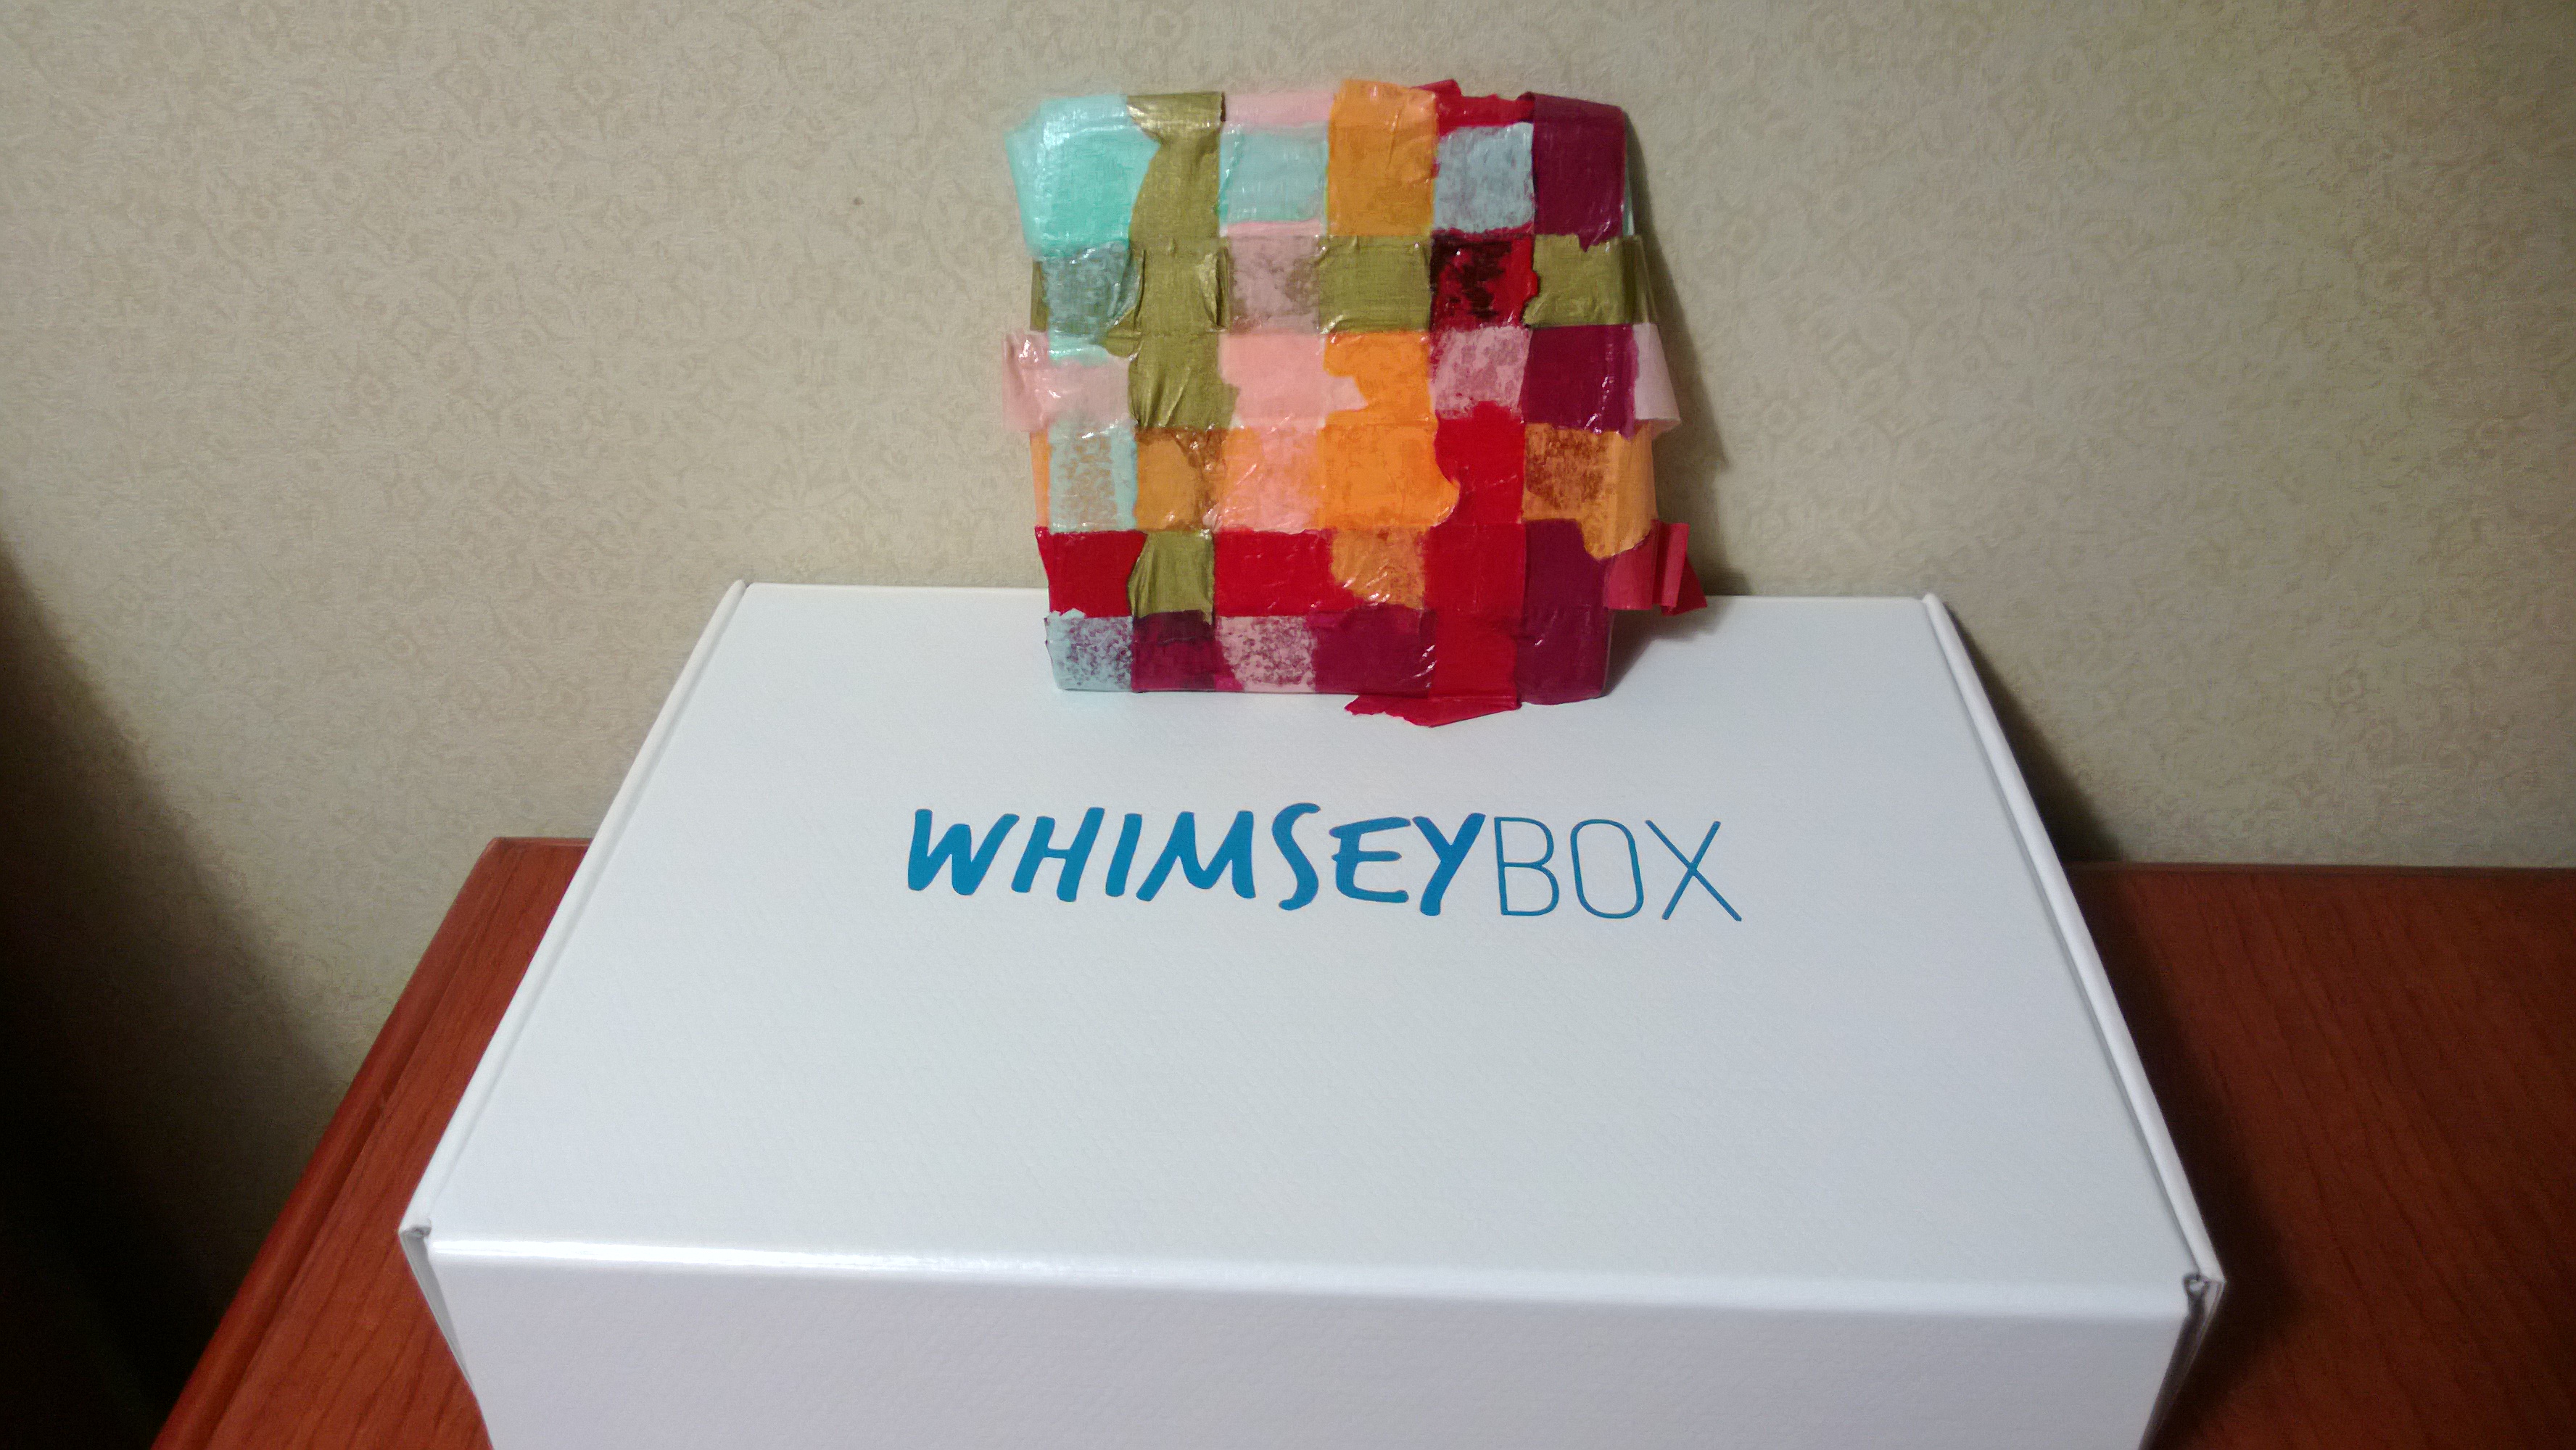
This was from the March 2013 Whimseybox. At least, I think it’s the March 2013 Whimseybox. The last box I got, which I thought was for April, is also labelled March. I’m in the midst of investigating this mystery.
Anyway, this box is for a DIY sewn notebook. You might remember that I am no stranger (two links) to sewn book bindings. The binding method for this project was simpler than what I did for the swap and involves less material.
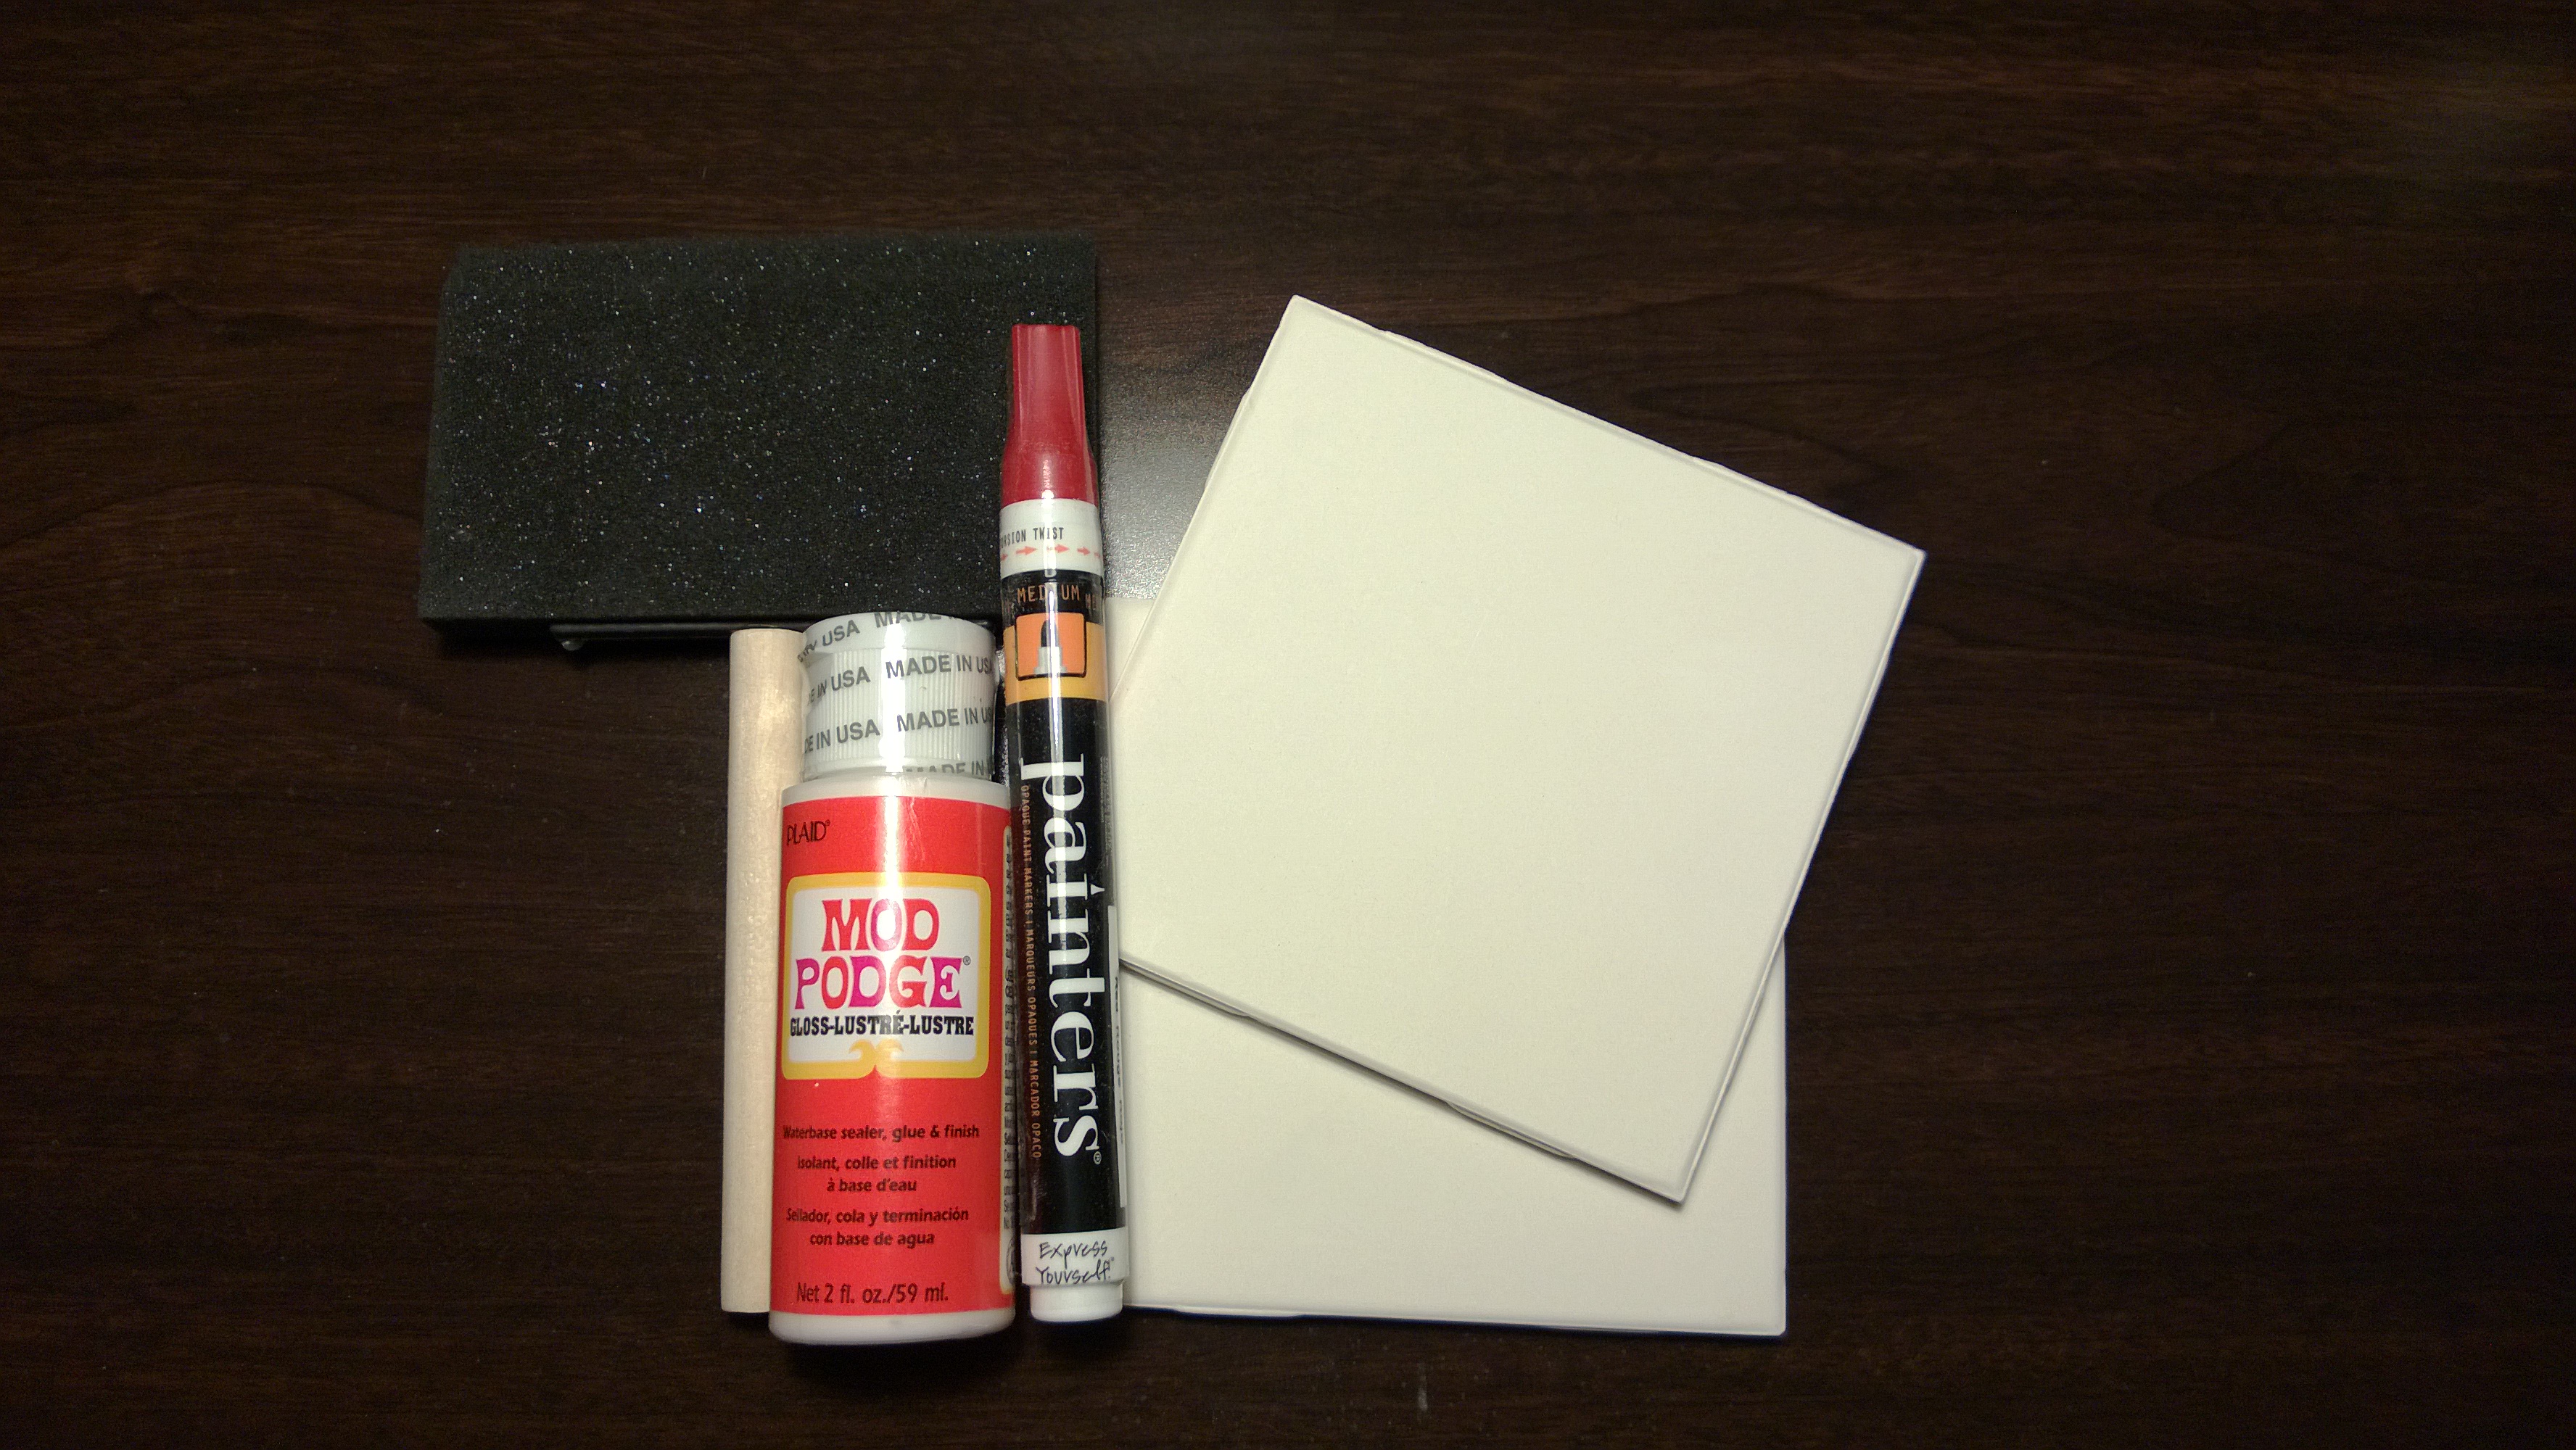
So, in the box were a cardstock cover for the notebook, eight sheets of paper, a small assortment of waxed twine, a small paper awl, and…a length of wire? That maybe is supposed to be a needle? At least, the instructions mention a needle and the only thing I had left in the box was this length of wire. I’m really not sure what it was for. It’s too short to use as binding material. It really doesn’t make a very good needle since it’s just wire. I actually had to email Whimseybox about that. And…I got the fastest response ever (EVAR!) to my question. Turns out the wire can be used to sew (I haven’t really figure out how) but a needle was indeed left out of my box (which they’ve sent to me).
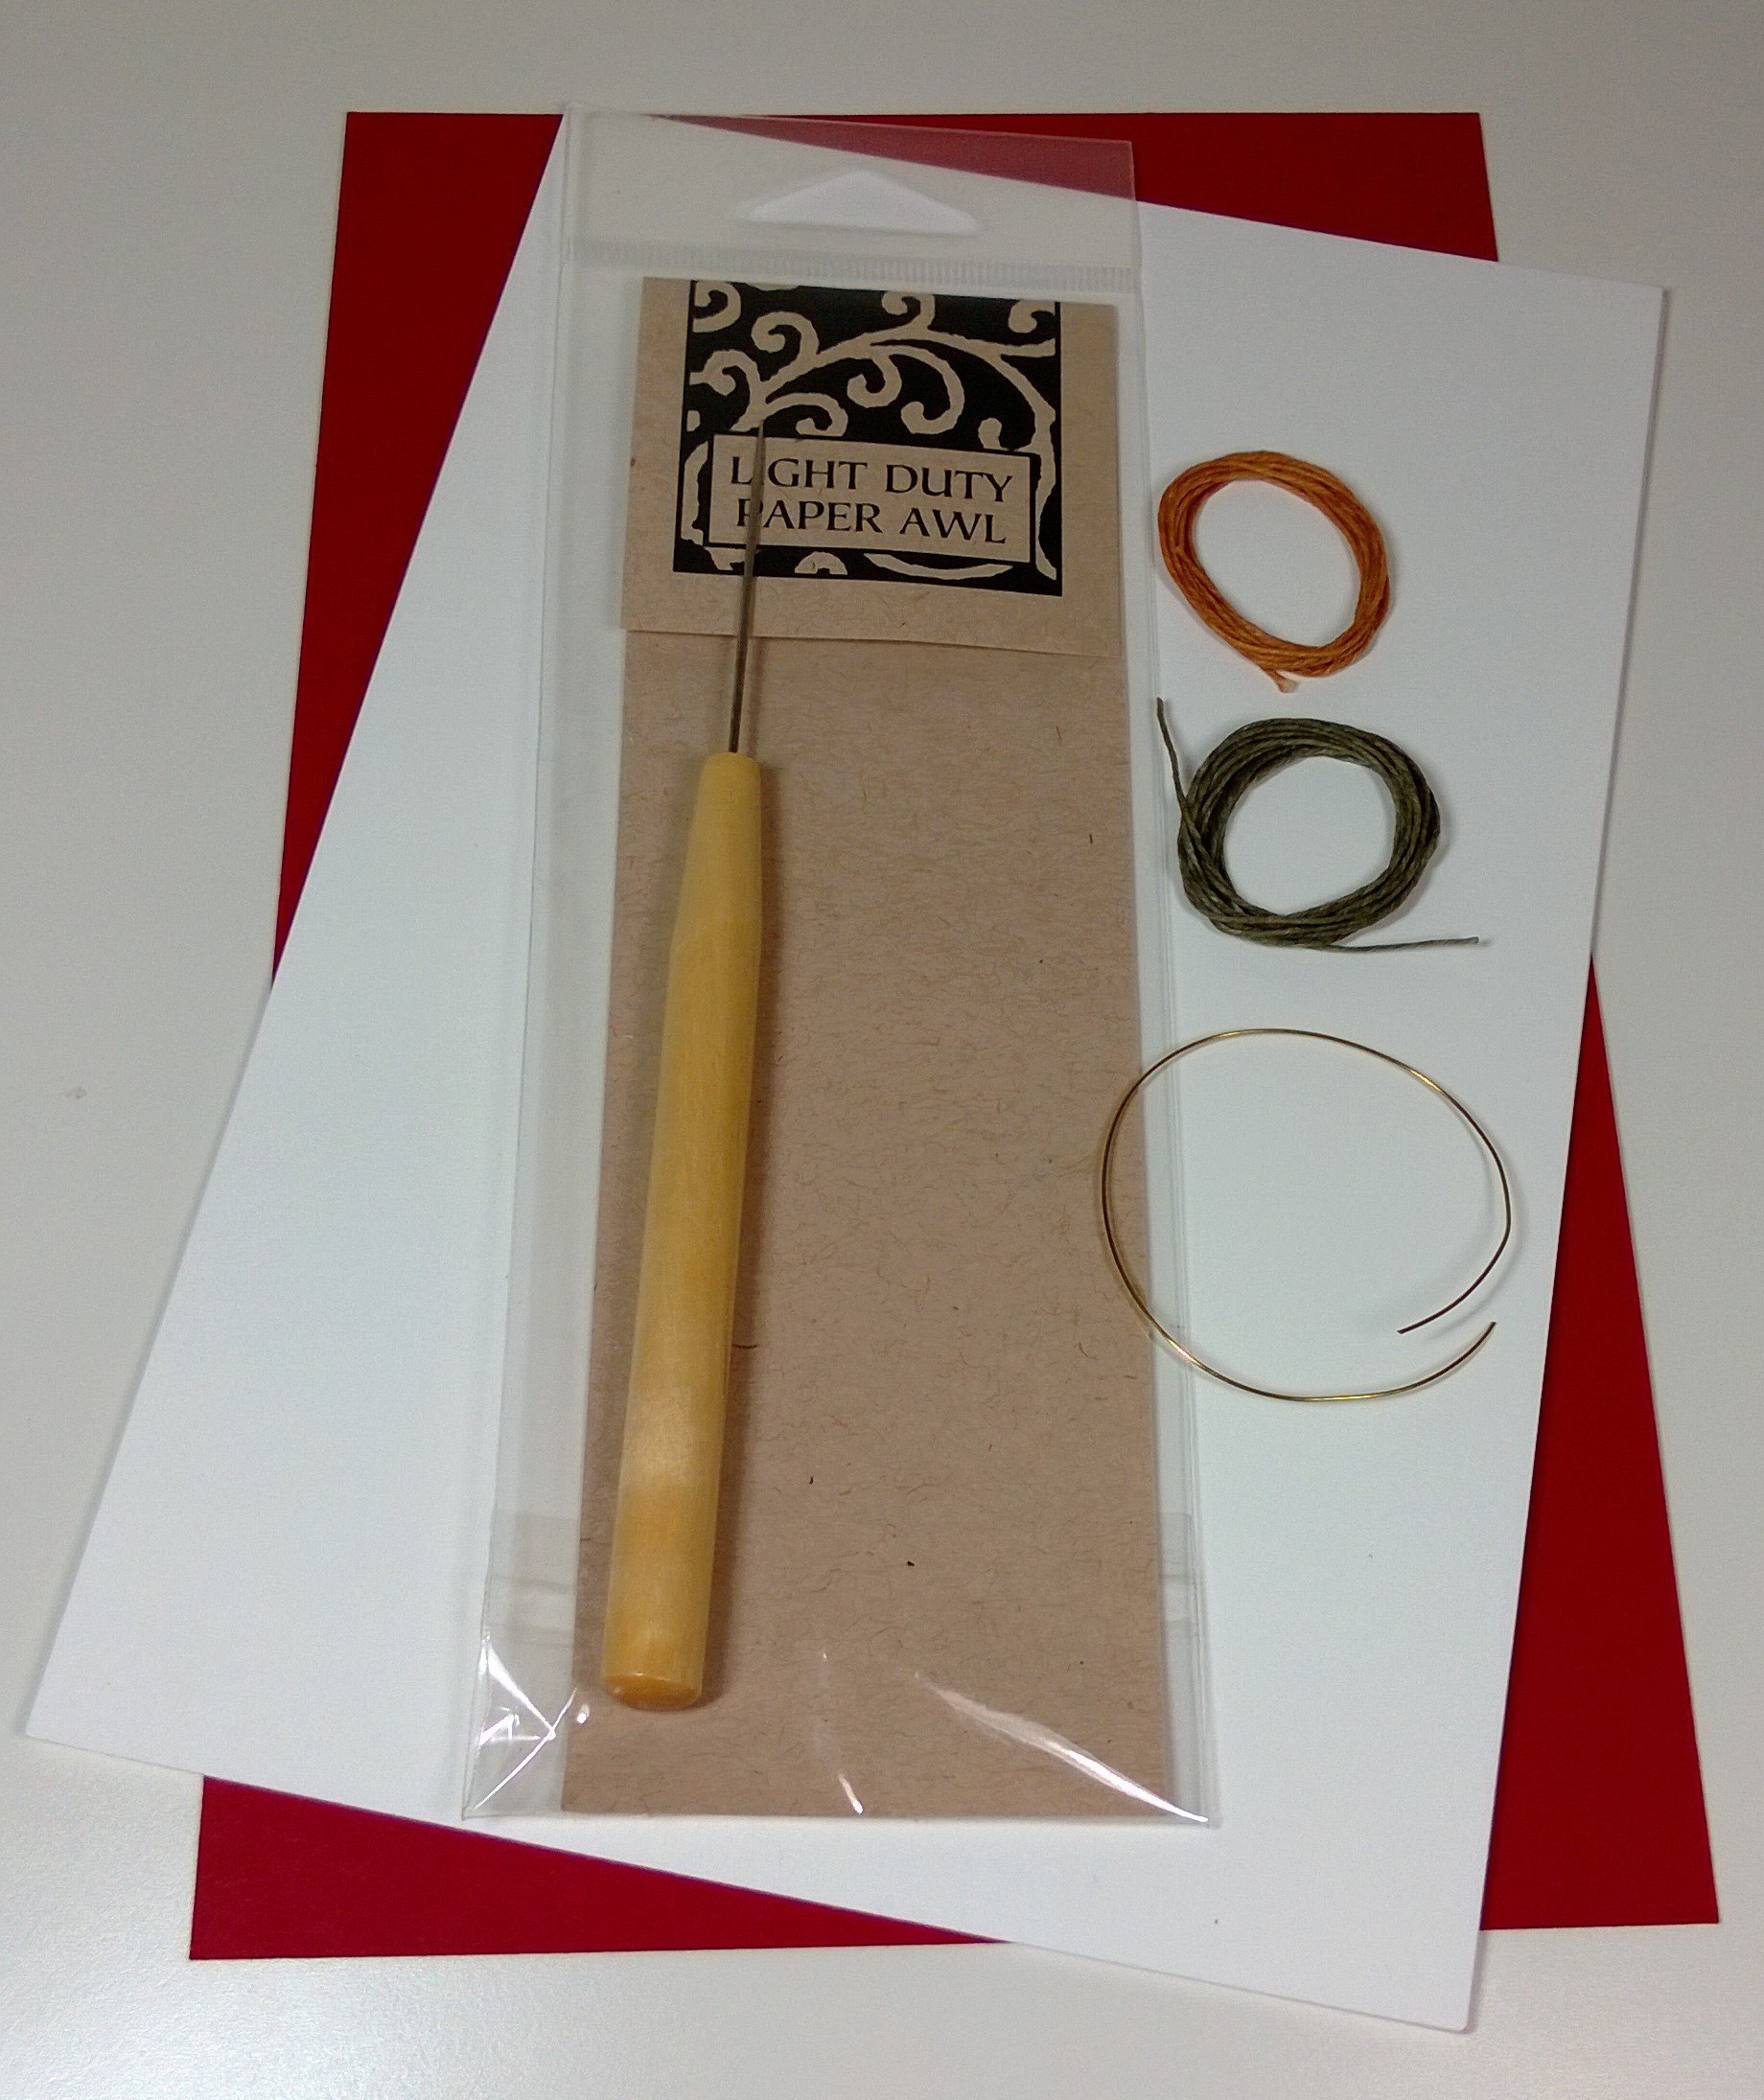
Anyway, directions are pretty simple. You have to fold all the sheets of paper in half and then bore three holes into the center fold. They recommended a hole in the center and then one on either side of the center hole about 1.5″ from the edge of the paper. You then use those holes to help you make appropriate holes in the cover, which was nicely pre-scored. Then you sew everything together. Nothing so fancy as a Coptic book binding, since there’s only one signature. You start from the center on the outside of the book and pull your twine through (I have a vast collection of needles and didn’t need to wait for one to be sent to me) leaving a bit of a tail on the outside. Then you go from the inside bottom hole through the outside top hole and then back out the inside middle hole. Tie off. Tada! Notebook!
Here is there’s:

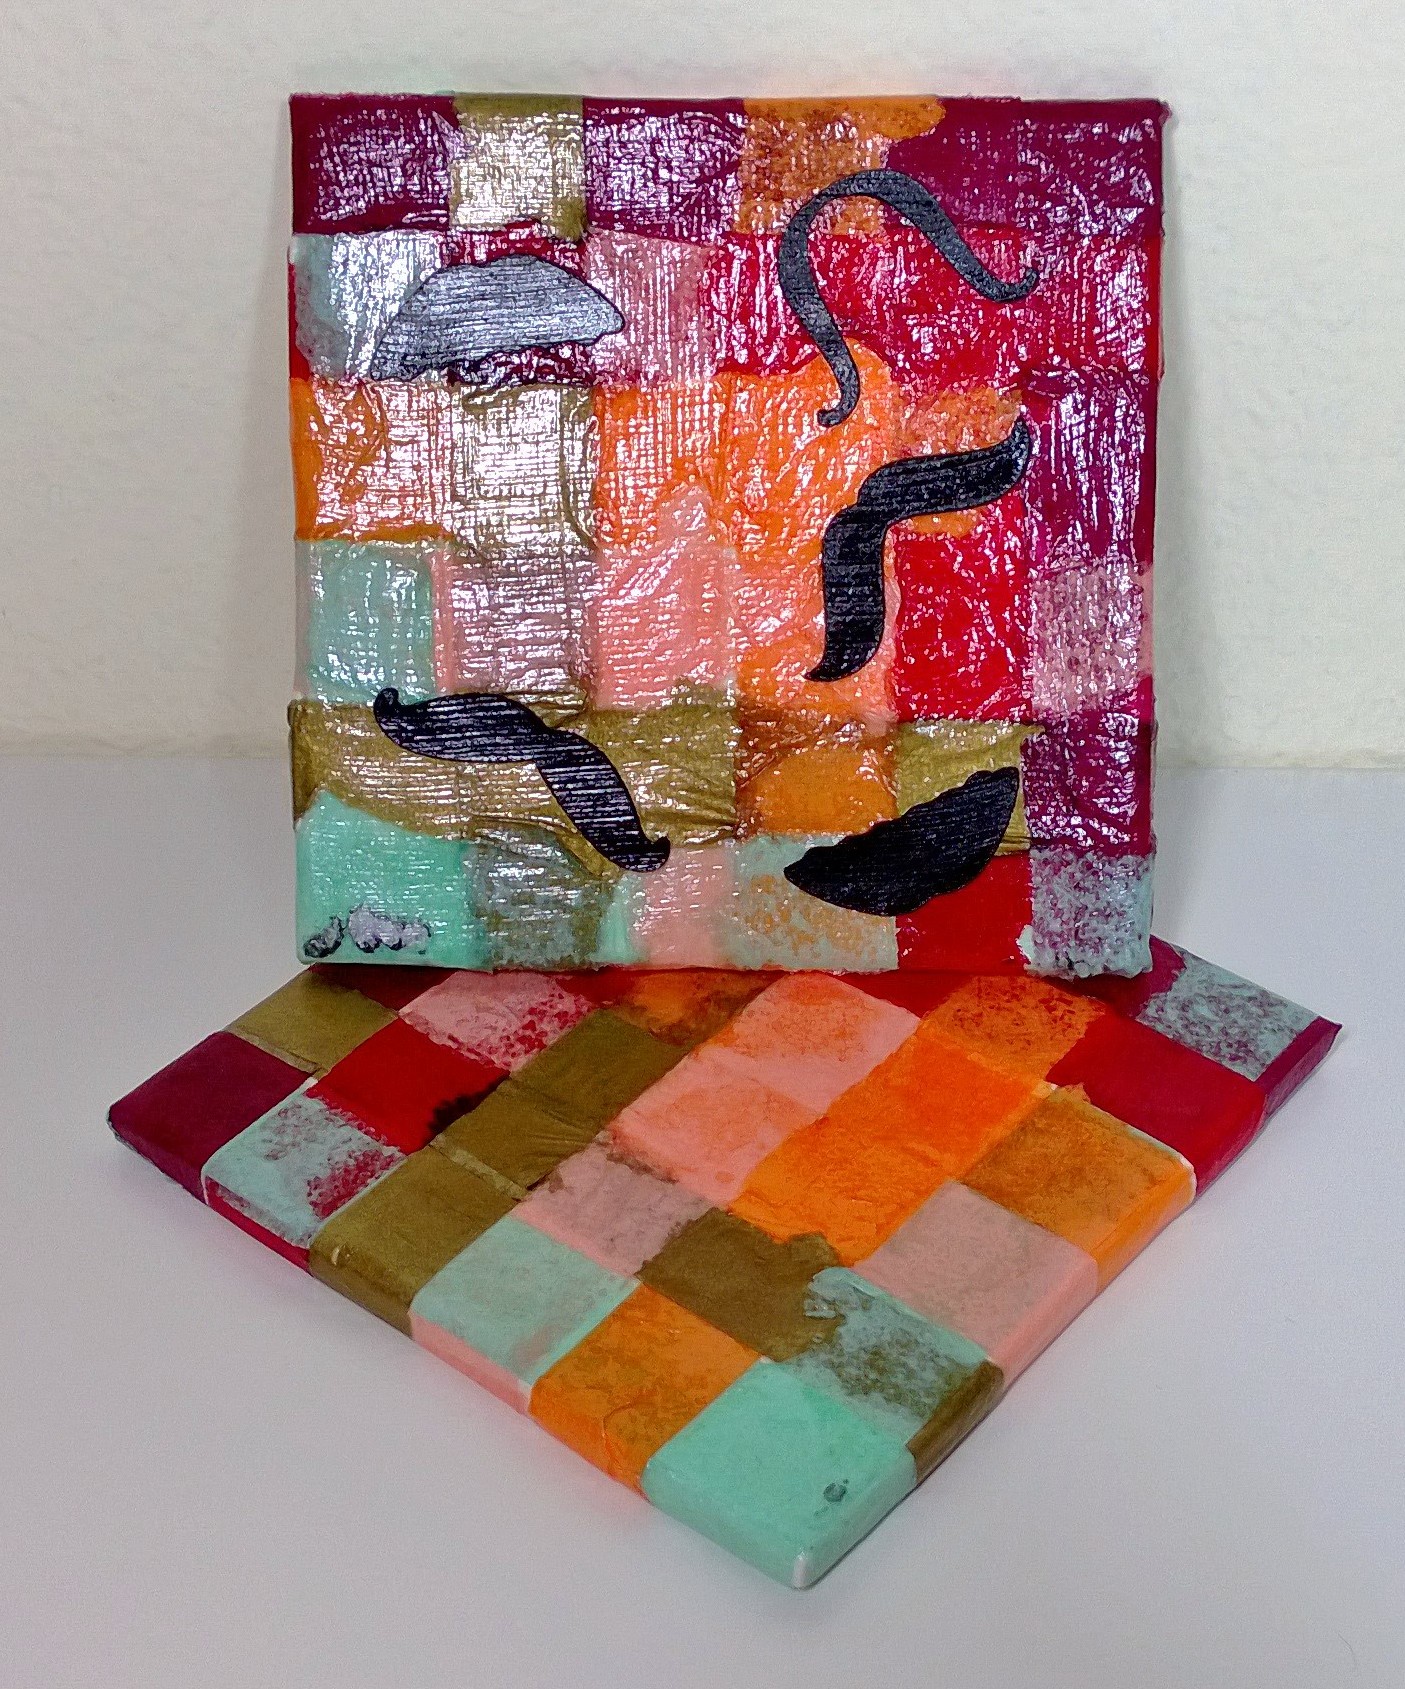
And here’s mine:

Lighting has been a bit of a challenge at the new hotel I’m in for this week.
They suggested decorating with washi tape. I opted to draw all over it instead. Well, start drawing. It was going to be my project while staying at the hotel this week. But…I forgot to bring the Sharpies (or really, Bic Permanent Markers) I had meant to use. Then I lent my boss my good ink pen that was my backup and he didn’t return it. So I just started doodling with a ballpoint. It’ll have to be finished at a later date.
So…um. This is a pretty simple project. I was able to complete it in less than an hour (this will include the doodling). You might remember that each box is 15$. In this case, 15$ gets you a few sheets of paper, some twine, a needle, and a paper awl (which is probably my favorite part of the box). And convenience. And I will leave you with that.