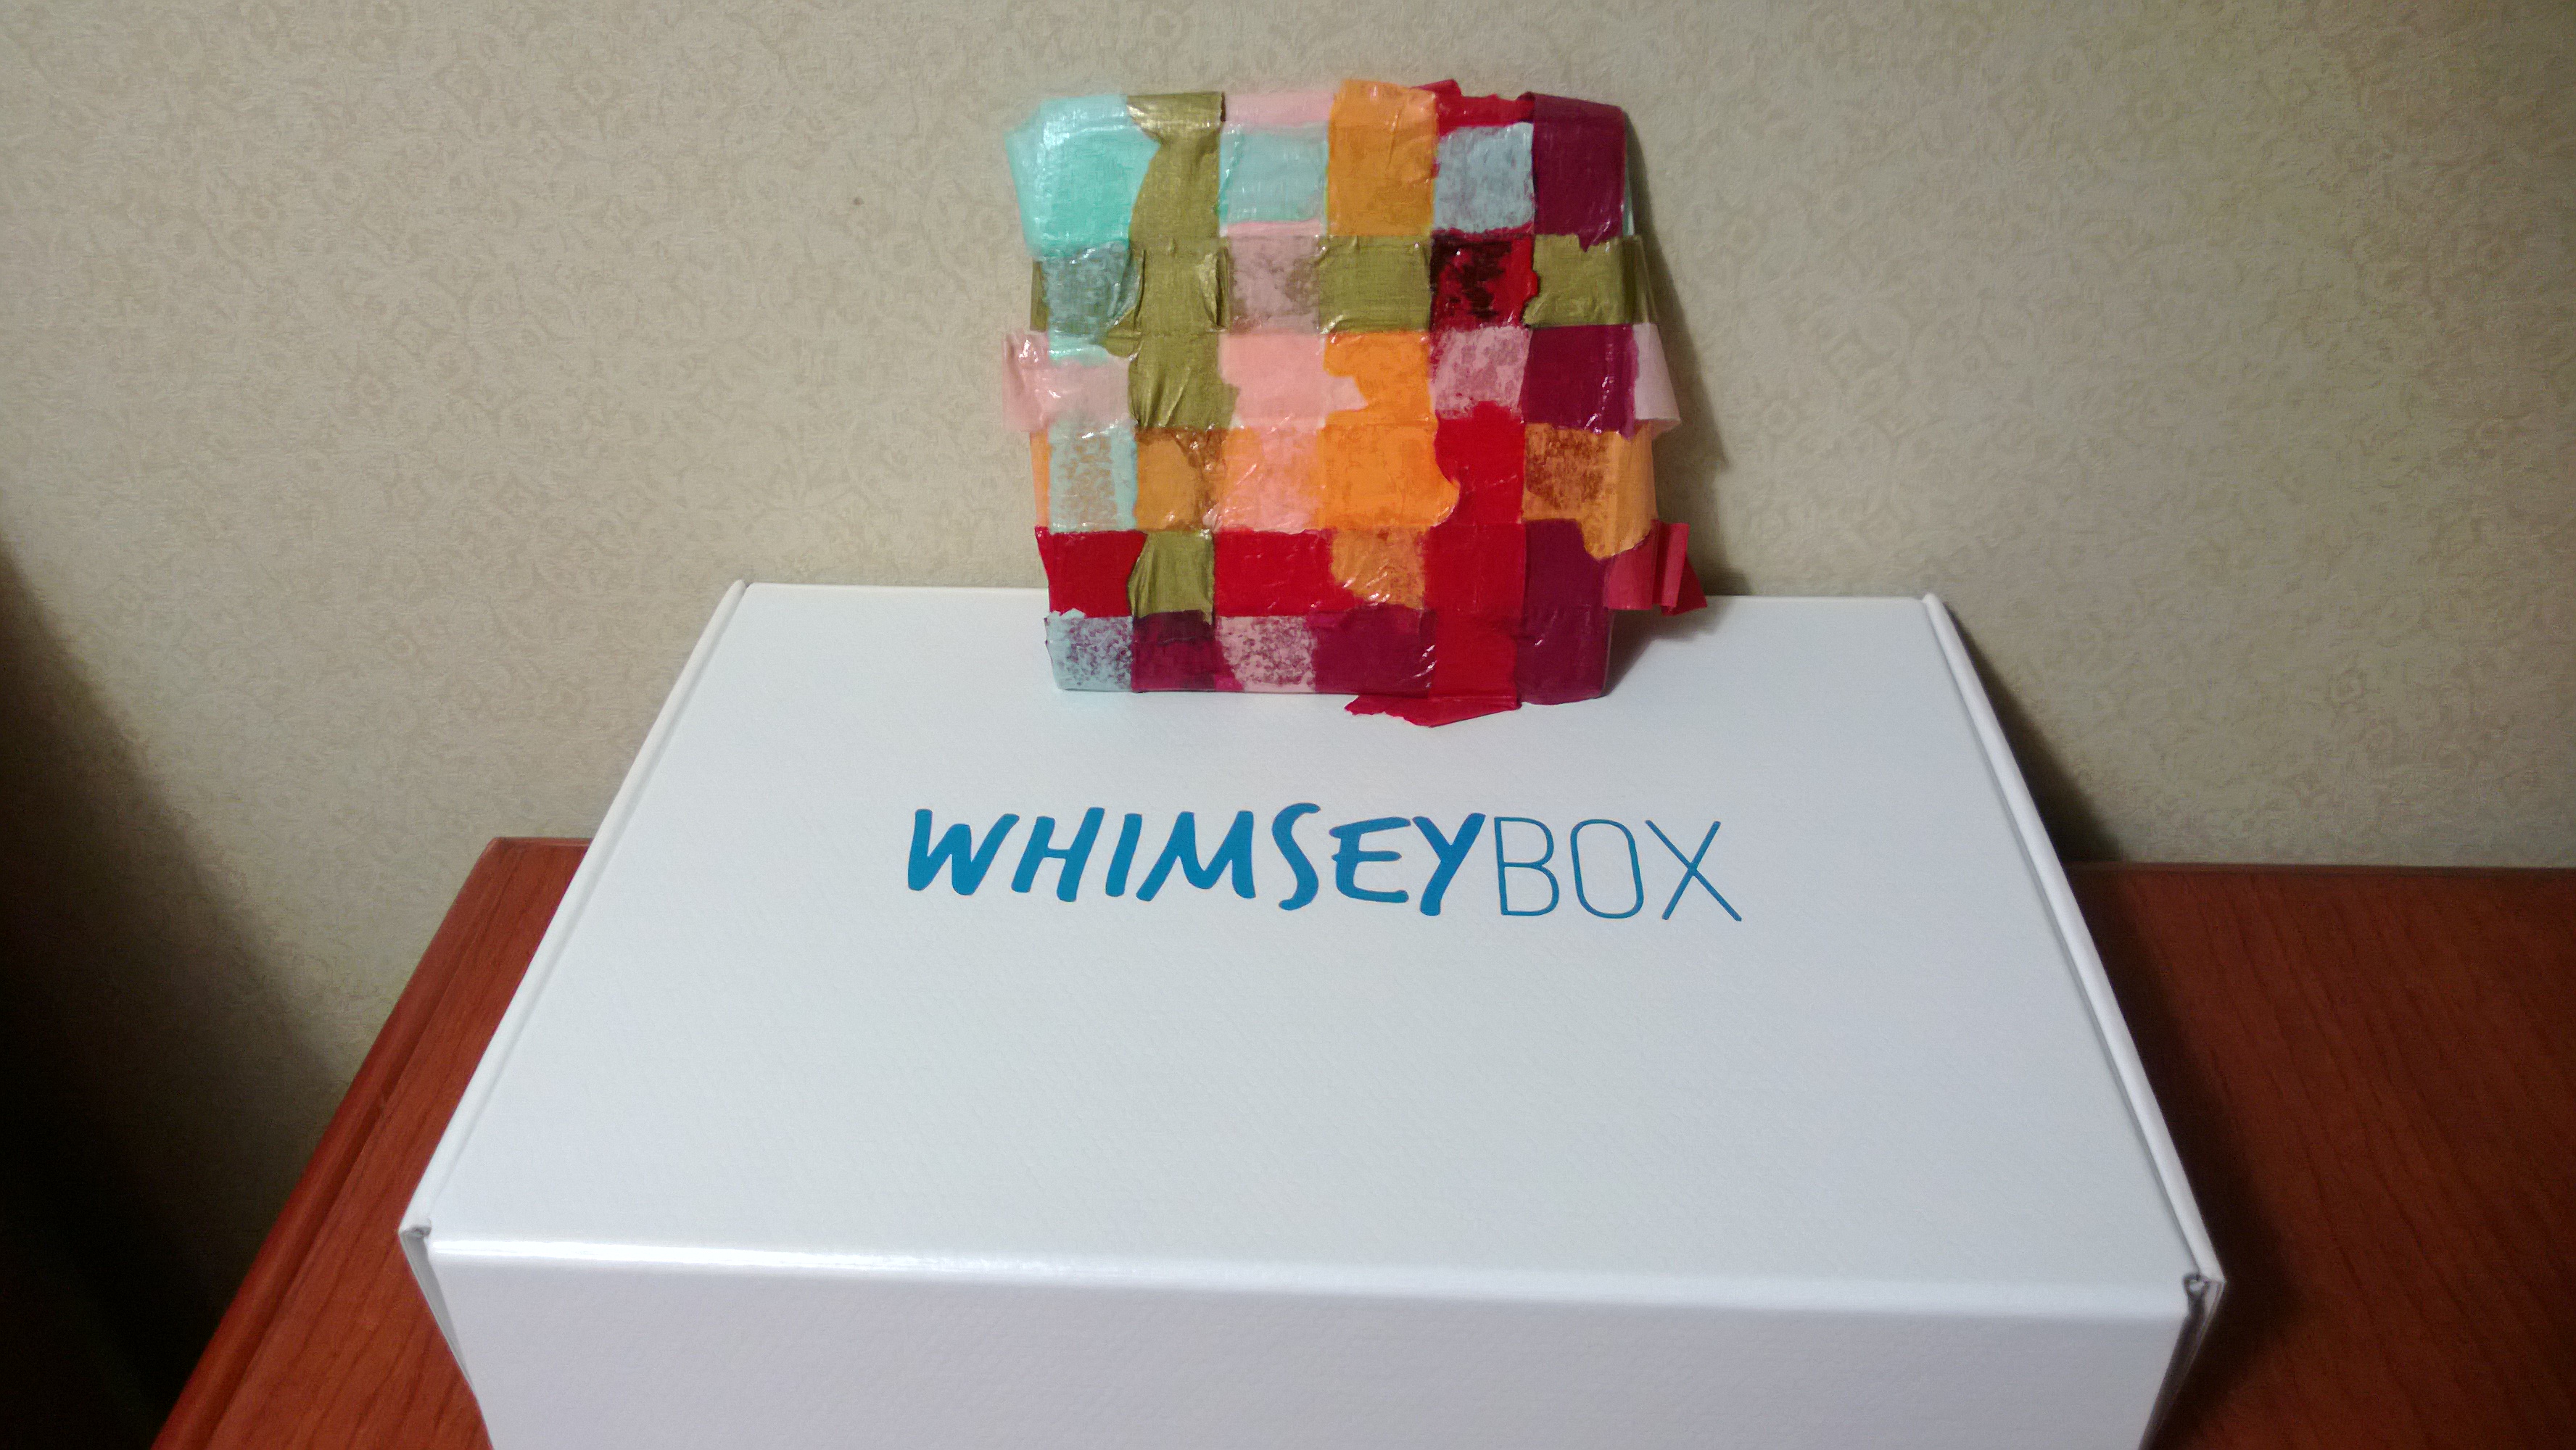
I hadn’t finished the back when I took this shot. You can see pieces of tissue paper sticking out.
Here’s the continuation of that preview you got two weeks ago.
This week’s craft is courtesy of November’s (2012) Whimseybox. November’s box was for découpage coasters.
Découpage is the art of gluing paper onto another object for decorative purposes. It’s kind of like those collages you would make for school, but with a lot more glue. The end result is a solid, varnished piece as opposed to the piecemeal look of a collage.
The contents of the box included two unfired tiles, a small bottle of glossy finish Mod Podge, a paint pen, and a large foam brush. I don’t remember what the advertisement was for this month. There actually might not have been one.
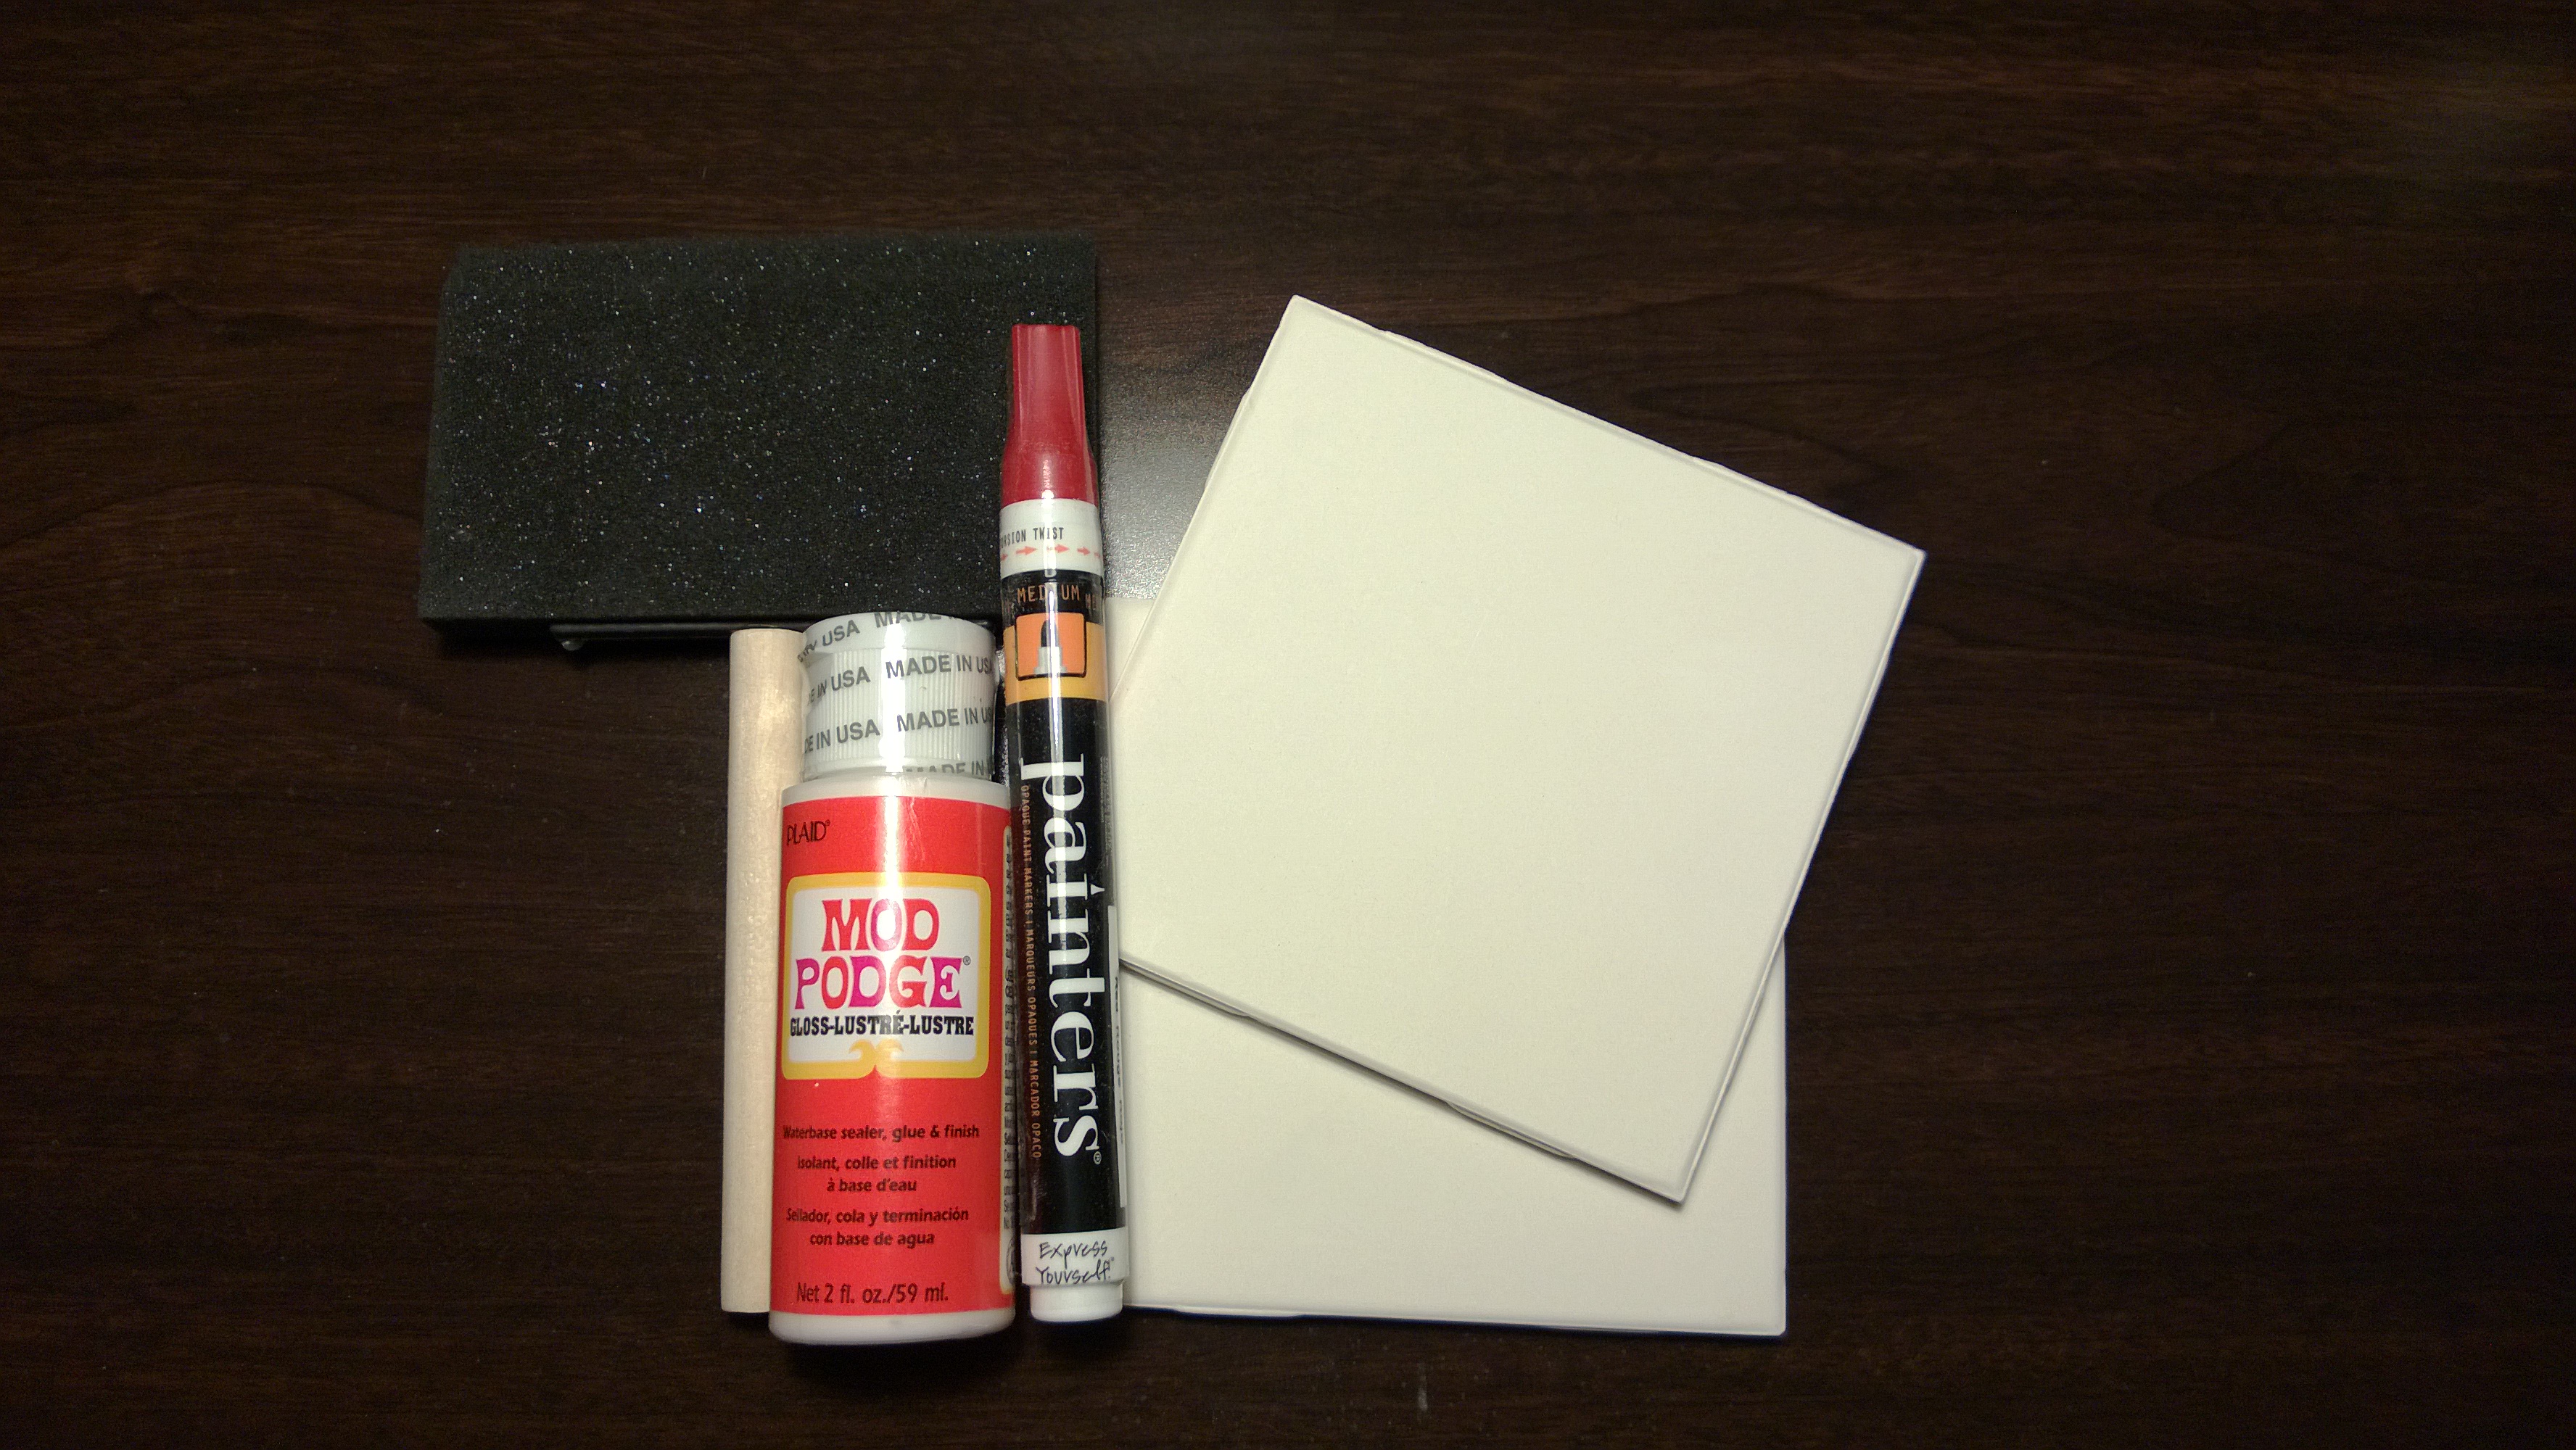
The background is a lovely hotel desk surface.
The directions were to cut up old magazines, ticket stubs, what have you, and to glue them onto the tiles, overlapping as you go. When you finish with the last layer, apply one last coat of Mod Podge to seal the surface.
Whimseybox didn’t exactly have a photo that matched their instructions. Here’s their post that is supposed to go with this project. The photo included with my instruction set is the banner photo. I kind of doubt that it was découpage. But maybe it was. Maybe they had some cork patterned paper and then stuck numbers on it. I dunno.
Anyway, here are mine.
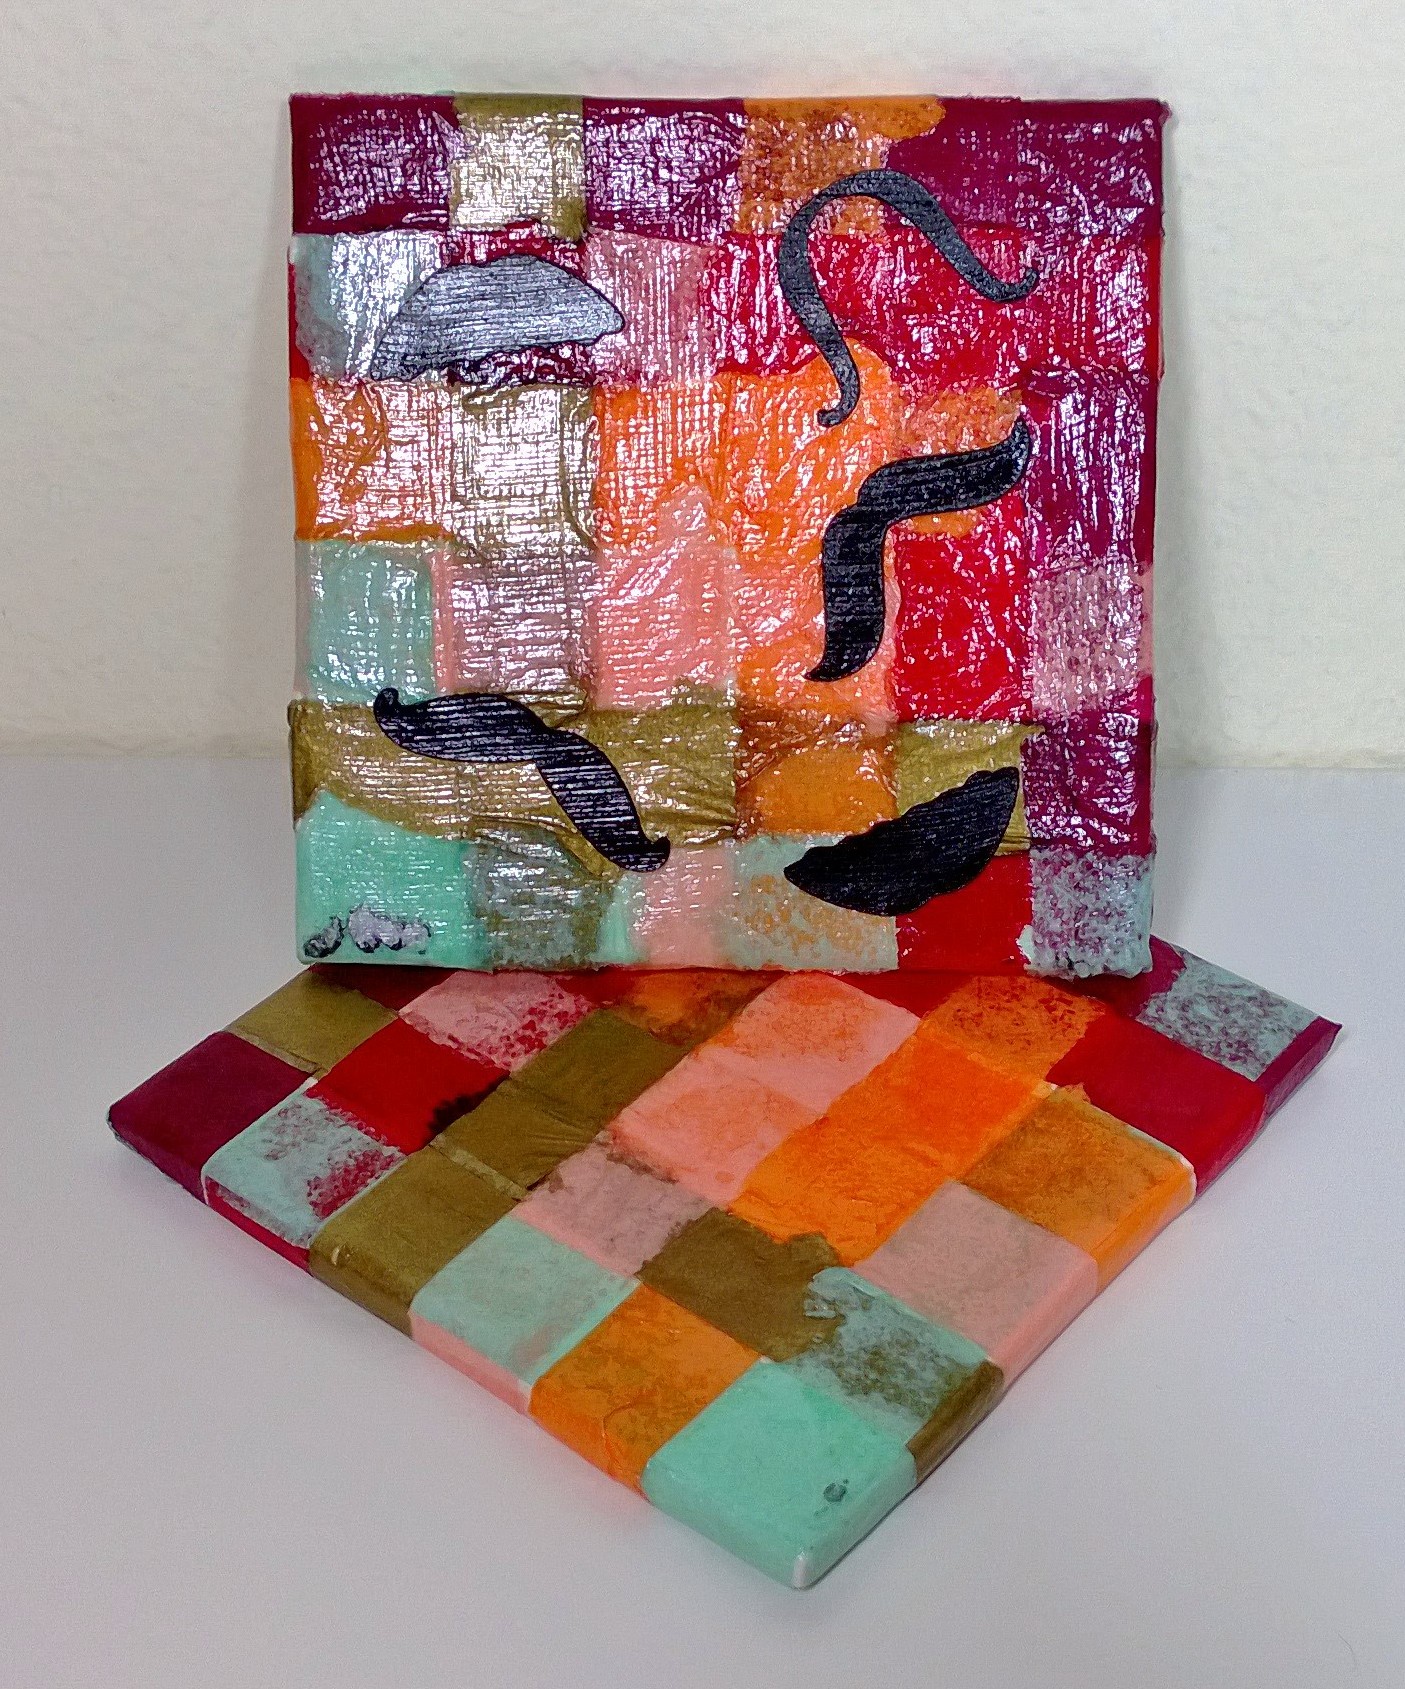 As you can see, the Mod Podge definitely was glossy finish. The bottle that I already had is satin finish. Maybe I should have used that one.
Anyway, I used the tissue paper that was packing material from previous Whimseyboxes. They pack with a lot of…warm colors. I hadn’t realized that until I started. Actually, I’m pretty sure there was some dark blue tissue paper that came in one of the boxes, but I couldn’t find it.
The unfinished tile were kind of rough, so I actually sanded everything down first. I used 400 grit sandpaper. I don’t really recommend that. It’s a pretty fine grit for what you’re trying to do. But I had a sheet handy (because it’s what I use to refine the edge of my glass nib pens) and I was too lazy to find something more suitable to smooth out the edges. Dust. Dust everywhere.
After cleaning the tiles up a bit, I went with a woven pattern. But I wanted to have irregular edges to all the strips so, I tore strips from the tissue paper. It was kind of aggravating. You want irregular edges, but it can’t be so irregular that you can’t weave with it. I did have a guide so I could tear approximately even strips, but even with the guide it was aggravating. And in the end, you can’t really see the edges and it makes the final result a bit bumpy.
When I finally had enough strips, I applied a “generous layer of Mod Podge” directly to the coaster as instructed…and then immediately regretted it. The thing with unfinished tile is that it’s quite porous. The tile immediately soaked up a good amount of the glue. I would recommend only putting a generous layer of Mod Podge over the immediate area in which you’ll be working. It’s too wasteful, otherwise.
But anyway, I finished up that first coaster. I thought I’d put some mustaches on it. And there you go.
The second coaster, I cut strips of tissue paper and did more or less the same thing. I didn’t stick mustaches on this one. I was going to use that paint pen to paint one on the coaster, but then I realized the pen they gave me is red. There’s already so much red on the coasters. I’ll probably just leave it as it is.
So there you go. Découpage coasters courtesy of Whimseybox.
